6. mmWave Radar ROS Node

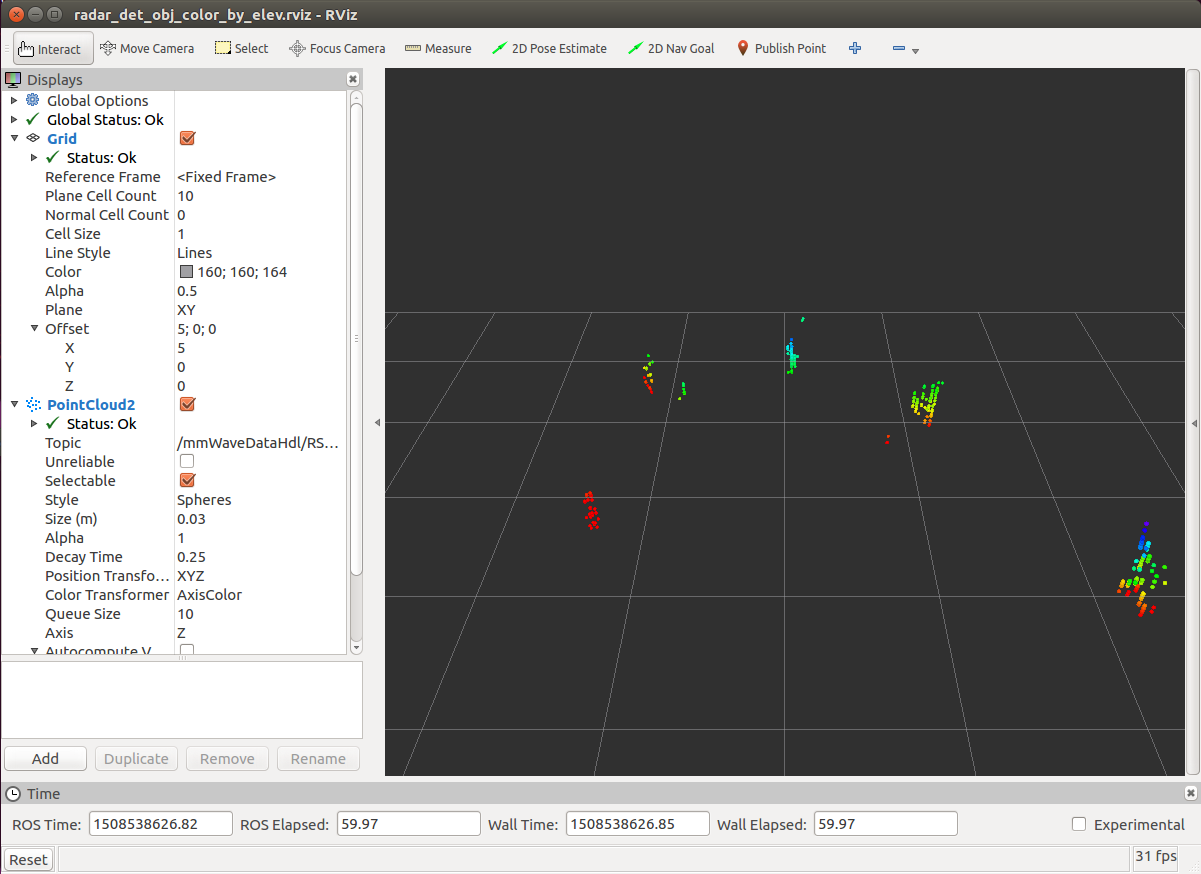
This is a radar ROS node for TI’s mmWave devices. The ROS node sets up a ROS service as an interface to configure the mmWave Evaluation Module and publishes a ROS PointCloud2 message with the objects detected when the sensor is activated.
Note
This ROS node, running on SK-AM62A, SK-TDA4VM, SK-AM68A and SK-AM69A, currently is tested only with TI’s IWR6843ISK.
In the following, we provide a summary of instruction for setting up and running the radar ROS node. For details, please refer to TI mmWave ROS Driver Users Guide
6.1. Setup
6.1.1. Re-flash the the TI mmWave EVM with Out-of-Box firmware
If you are using a brand new TI mmWave EVM, it may come pre-flashed with an older version of the Out-of-Box Demo. The EVM should be re-flashed with the Out-of-Box demo from the compatible version of the mmWave SDK.
On a PC, download Uniflash, via following the following link: https://www.ti.com/tool/UNIFLASH
Make sure the file
/lib/x86_64-linux-gnu/libudev.so.0exists. If it does not exist execute the following command to generate a symbolic link necessary for Uniflash to work:sudo ln -sf /lib/x86_64-linux-gnu/libudev.so.1 /lib/x86_64-linux-gnu/libudev.so.0
Navigate to the download directory, make the file executable and run the Uniflash installer:
cd ~/Downloads
chmod +x niflash_sl.4.2.1.1562.run
./uniflash_sl.4.2.1.1562.run
Download the linux version of the mmWave SDK. MmWave SDK version:
Compatible with TI mmWave SDK v3.6 out-of-box demo when using IWR6843AOPEVM
Compatible with TI mmWave SDK v3.6 out-of-box demo when using IWR6843 ES2.0 EVM
Install the following mmWave SDK dependency:
sudo apt-get install libc6:i386
Navigate to the download directory, make the file executable and run the mmWave SDK installer (change
<ver>to the appropriate version):cd ~/Downloads chmod +x mmwave_sdk_<ver>-Linux-x86-Install.bin ./mmwave_sdk_<ver>-Linux-x86-Install.bin
Follow the EVM Operational Modes Setup Guide to configure the device for
flashingmode. Once configured for flashing mode, power cycle the device by toggling the NRST switch or unplugging then reconnecting the micro usb cable.Follow the Using Uniflash with mmWave Guide to flash the device with the appropriate binary.
Ensure the device is connected to the PC, then serial port names can be found with:
ls /dev | grep 'ttyUSB'  # for standalone EVMs
ls /dev | grep 'ttyACM'  # for EVM + ICBOOST carrier board
Two serial ports should appear e.g.:
ttyUSB0andttyUSB1, in this example,/dev/ttyUSB0should be entered as the COM port in theSettings & Utilitiestab in Uniflash.The .bin file can be found at
<MMWAVE_SDK_INSTALL_DIR>/packages/ti/demo/xwr68xx/mmw/xwr68xx_mmw_demo.bin.Follow the EVM Operational Modes Setup Guide to configure the device for
functionalmode. Once configured for functional mode, power cycle the device by toggling the NRST switch or unplugging then reconnecting the micro usb cable.
6.1.2. Select Chirp Configuration
This ROS node will, by default, use a chirp configuration that optimizes range resolution. The configuration file is located under ti_mmwave_rospkg/cfg folder.
If you wish to use the default chirp configuration, no further action is required.
If you wish to use a custom chirp configuration, the mmWave Sensing Estimator can be used to estimate the chirp configuration based on scene parameters. For more information on how to select the right chirp parameters in a FMCW Radar device, please see Programming Chirp Parameters in TI Radar Devices.
6.2. Build and Launch the Radar ROS Node
Build the mmWave radar ROS node in the SDK Docker container on the SK board
cd $ROS_WS
colcon build --base-paths /opt/robotics_sdk/ros2 --packages-select ti_mmwave_rospkg
source install/setup.bash
Launch the mmWave radar ROS node
ros2 launch ti_mmwave_rospkg 6843ISK_Standard.py rviz:=false
6.3. Visualization on Remote Ubuntu PC
In the PC Docker container,
ros2 launch ti_mmwave_rospkg rviz_launch.py
