3. How to Guides
3.1. How to connect the LCD to your AM571x/AM572x IDK board
3.2. How to Load and Debug APKs using Android Studio
Introduction
Using Android Studio on a TI development board running Android is very similar to using Android Studio on any other Android based phone or tablet. This guide will walk through the steps necessary to use Android Studio to load a provided example onto your TI development board (either an AM572x GP EVM or an AM57xx IDK + LCD) and run it.
This guide is not meant to replicate Google’s documentation for Android Studio or Android hardware debugging.
What you will need
At a high level, you will need the following hardware and software:
- Android Studio
- A TI EVM (AM572x GP EVM or AM57xx IDK + LCD) booted to the Android
Home Screen with a micro USB cable connected
- There is only one micro USB cable on the AM572x GP EVM
- You should connect to the micro USB cable on the opposite side of the four RJ-45 jacks on the AM57xx IDK boards (the other micro USB is for UART/serial and JTAG)
- If you are having trouble getting your board booted see the Processor SDK Android Getting Started Guide
Put Your Board into Development Mode
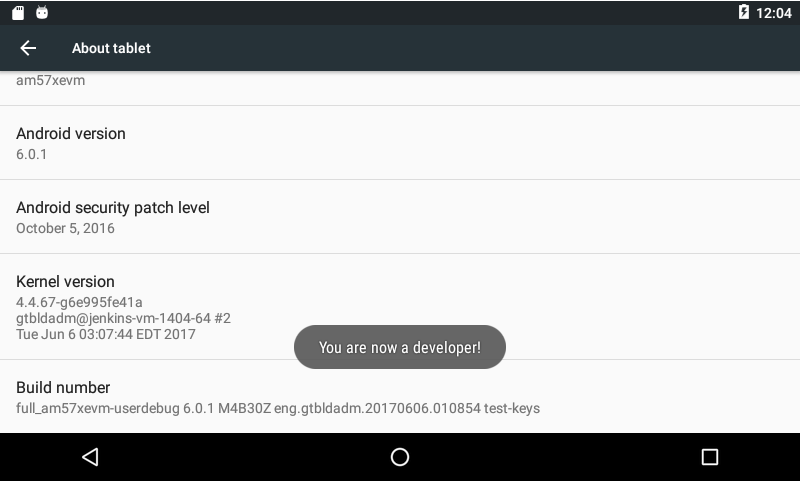
Go to Apps -> Settings -> About Tablet -> then tap ‘Build number’ 7 times to put the EVM into Developer Mode. The following screenshots illustrate the process.
- Tap the button highlighted below to access the list of installed applications
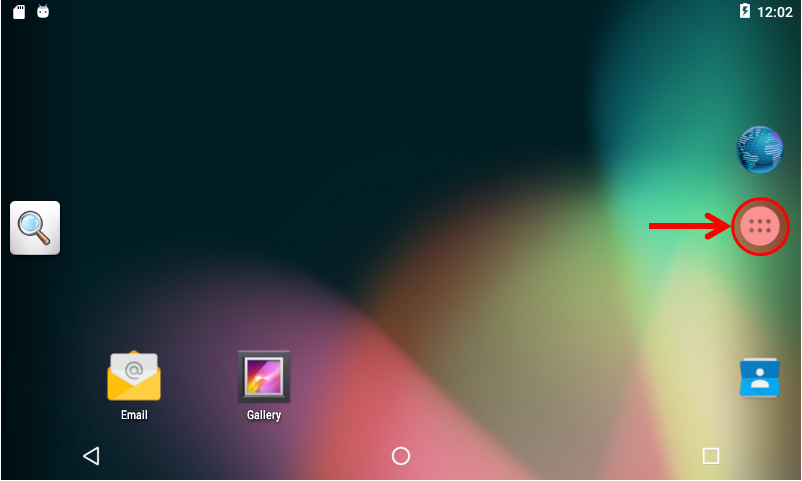
#. Tap the settings icon .. Image:: ../images/Screen_apps.png #. Tap ‘About tablet’ .. Image:: ../images/Screen_settings.png #. Tap ‘Build number’ 7 times in a row .. Image:: ../images/Screen_about_tablet.png #. After tapping 3 times there will be a pop up on the screen counting
down the number of taps left to become a developer. On the 7th tap you should see the pop up shown below indicating that your board is now in development mode.
Verify that ADB Sees Your Board
List of devices attached
02006013660e0121        device
If you do not see a device listed, you can try the following things to get your device to show up:
- Restart the ADB server on your Linux Host Machine sudo ./bin/adb kill-server sudo ./bin/adb start-server
- Unplug and the replug the micro USB cable between the board and your Linux host
- Reboot your Android board
- Reflash your Android board
Import an Example in Android Studio
- Open Android Studio
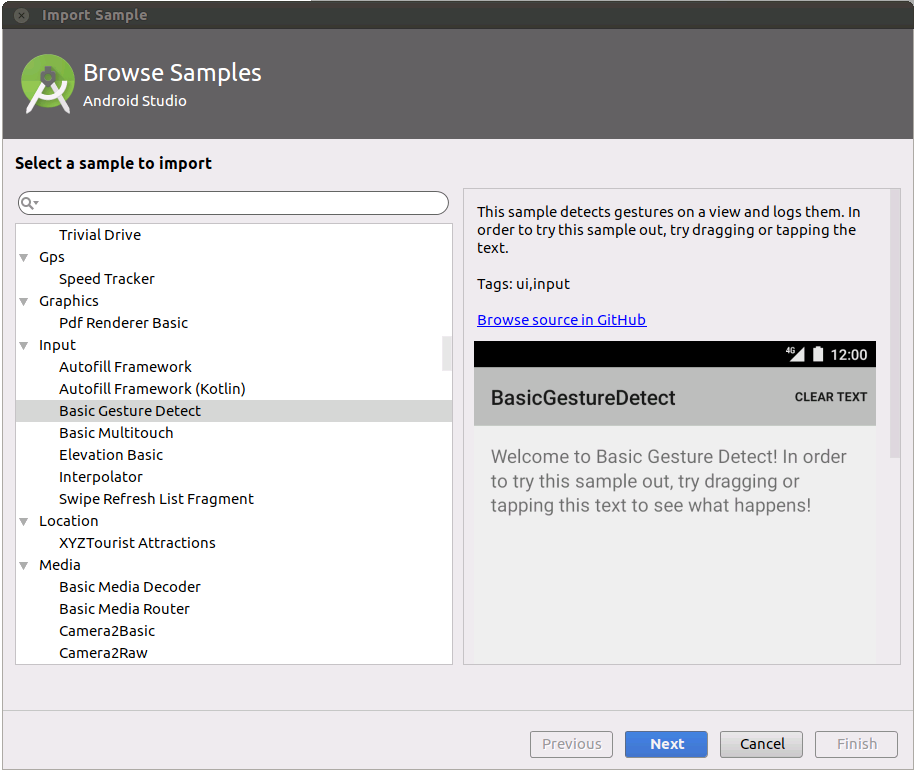
#. Click File->New->Import Sample... .. Image:: ../images/Android_Studio_Import_Sample.PNG #. Scroll down and select the Basic Gesture Detect and follow the
prompts to import the sample
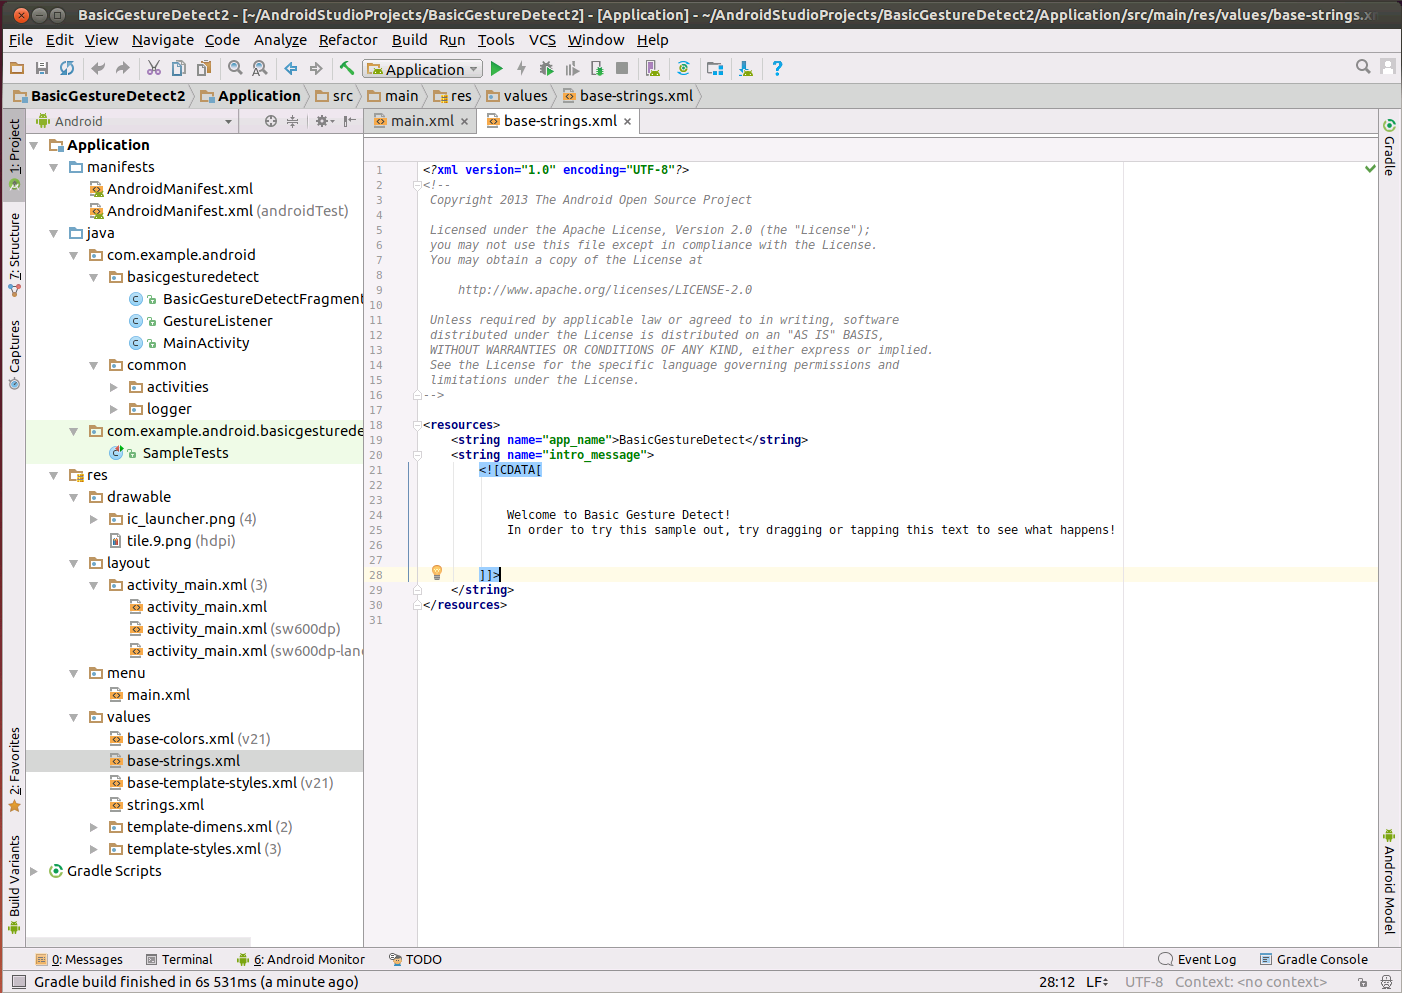
- Once you’ve imported the sample project it should show up in your Project explorer tab and you can browse the source files like this:
Build and Run the Example on your Board
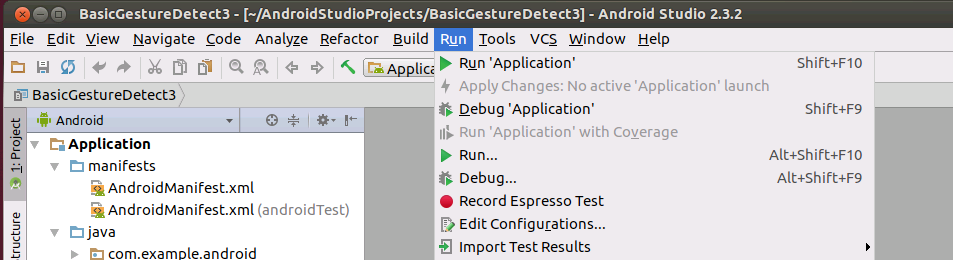
- Click Run->Run ‘Application’ or Run->Debug ‘Application’ to build and run/debug your program
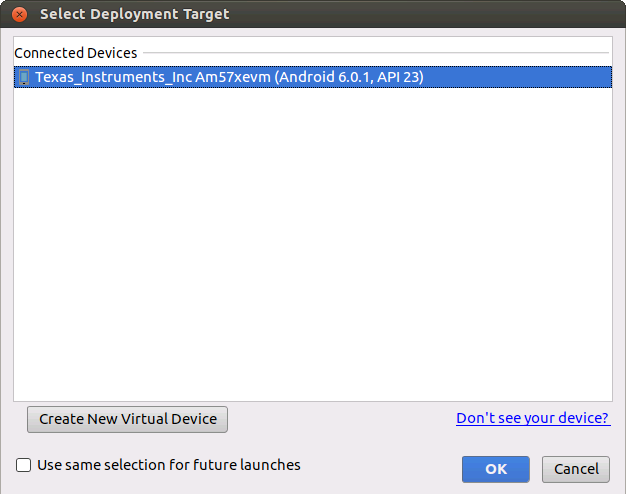
- Select your device from the Select Deployment Target pop up and click OK
More Information
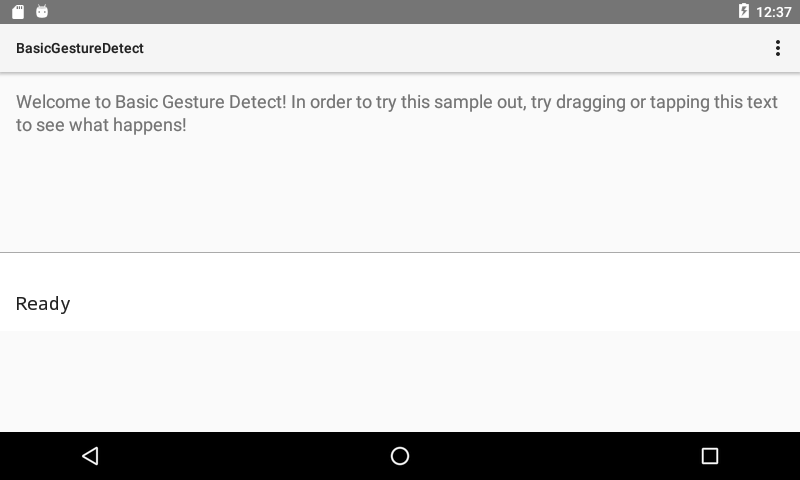
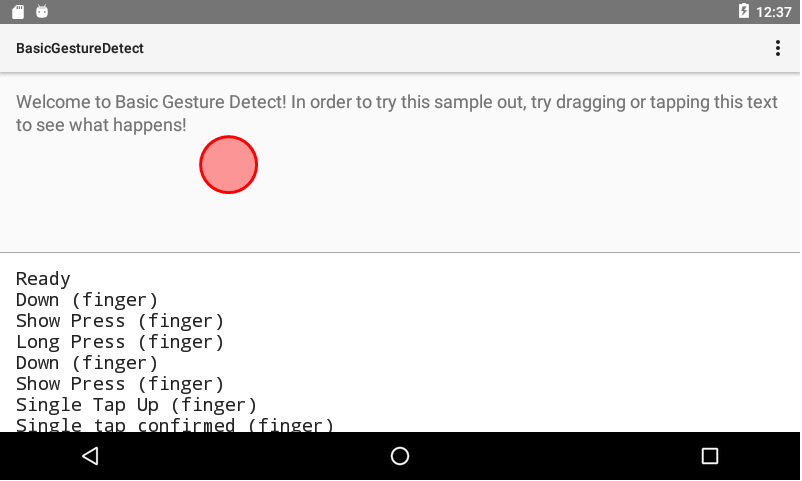
You’ve now built, loaded, and run your first APK on your TI EVM running the Android Processor SDK! As you’ve seen, this process works just like on any other Android enabled device (phone, tablet, etc.). If you would like more information about Android Studio, or developing Android applications, please visit Google’s Android Developer documentation.
3.3. How to replace the default Android boot animation with your own
Coming soon!
3.4. How to boot directly into your application
Coming soon!
3.5. How to enable the PRU Ethernet ports on AM57xx IDK board
Coming soon!
3.6. Frequently Asked Questions
Frequently Asked Questions
How do I see recently added files in the Gallery or Music Player app?
Gallery/Music Player is not aware of files pushed via ADB at run time. After pushing the files reboot the board to have the gallery updated. Alternatively, to avoid a reboot, you can use the following command: **$am broadcast -a android.intent.action.MEDIA_MOUNTED -d
Why does my board hang during boot if I have an empty SD card connected but I’ve flashed the eMMC?
The boot order of the AM572x GP EVM and the AM57xx IDK boards defaults to checking the SD card for a bootable partition before any other media. This means that if your SD card contains a partition with the bootable flag set to true, and it doesn’t contain MLO and u-boot.img, then your boot process will appear to hang because the ROM bootloader cannot find what it needs to boot in the boot partition of the SD card. To remedy this problem you should re-partition your SD card and make sure that there are no bootable paritions. Utilities such as fdisk, sfdisk, or parted can all do this from your Linux host machine.
Why is an app that comes pre-installed in the TI Android SDK Example not working?
Apps that are pre-installed may not have permissions enabled by default. Check that the proper permissions are enabled in settings > Device > Apps > desired app (flow from Processor SDK 4.00).