Download and Install CCS
Code Composer Studio is an integrated development environment (IDE) that supports TI's Micro controller and Embedded Processors portfolio. It provides useful tools to develop and debug embedded applications.
Please visit Code Composer Studio product page for more information or visit the CCS Downloads page.
Supported CCS version for J721E EVM is 9.0.1.00004 as shown below.
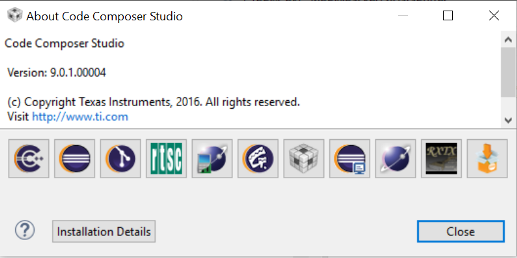
Code Composer Studio version
Back To Top
Setup for J721E EVM
Install the CCS Emulation Packs for J721E. After installation the following versions should be listed

Code Composer Studio Emulation Packs
- Download and untar CCS J721E device support pack in C:\ti\ccs_version\ccs\ccs_base folder.
- Please contact your local FAE for chip support package link details.
Back To Top
Creating a Target Configuration File
- In Code Composer Studio, go to the File menu and select New -> Target Configuration File
- Name the Target Configuration file as J7ES_EVM.ccxml and click Finish
- Select the Connection to JTAG emulator which you have connected to J721E EVM. For on board emulator use connection as "Texas Instruments XDS110 USB Debug Probe"
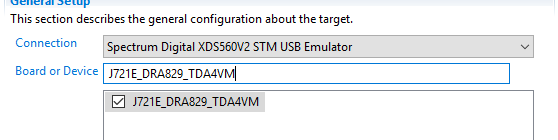
- Set Board or Device to JACINTO721E.
Creating CCS Target Configuration File
- Open launch.js script located at below path [SDK_INSTALL_PATH]/pdk_xx_xx_xx/packages/ti/drv/sciclient/tools/ccsLoadDmsc/j721e/ and change
- gelFilePath to your GEL files in the CCS installation.
- pdkPath to [SDK_INSTALL_PATH]/pdk_xx_xx_xx/packages
Back To Top
Load Example Binaries on J721E
Note: Please configure EVM in NOBOOT mode for connecting and loading binaries via CCS. As EthFw demos are run via CCS, please configure J721E EVM in NOBOOT mode.
Open Code Composer Studio and launch the Target Configuration previously setup
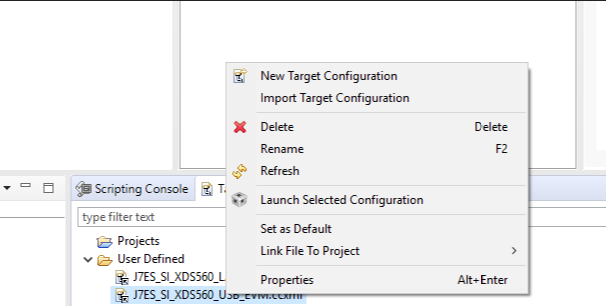
Launch CCS Target Configuration
- Go to the View Target configurations and launch a target configuration is done by right clicking on it.
- Go to the View menu and then select Scripting Console
Run the launch.js script located in the pdk_xx_xx_xx/packages/ti/drv/sciclient/tools/ccsLoadDmsc/j721e/ on scripting console to load and execute DMSC firmware binary. This step can take considerable time as it configures PLL etc. in the SOC via GEL files and configures DDR.
After script completes execution you should see below in Debug window
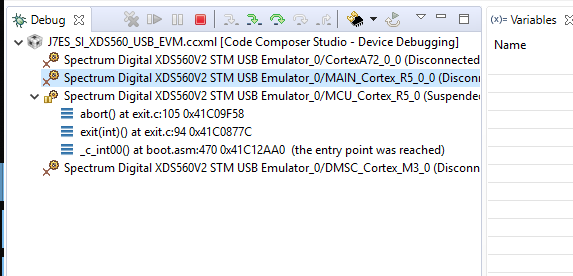
Launch script Complete
In Code Composer Studio, select MAIN_Cortex_R5_0_0 from the list of cores in the Debug panel
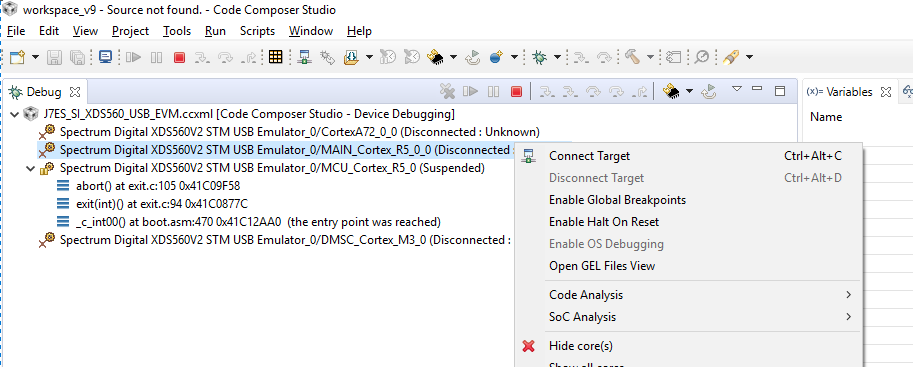
MAIN_Cortex_R5_0_0
- Go to the Run menu and then select Load -> Select Program to Load
In the Load Program window, browse the EthFw Layer-2 switching application binary.
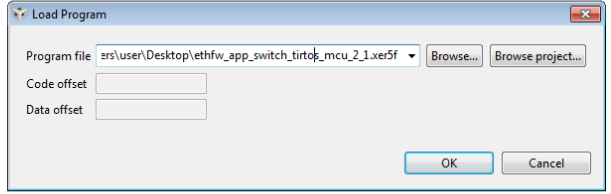
Loading the demo application binary
- Go to the Run menu and then select Resume to start executing demo binary.
Back To Top

 1.8.13