3.3. How to Enable Android Automotive
3.3.1. Abstract
This guide will walk through the steps necessary to enable Android Automotive on your TI development board.
The Android Automotive OS and Human-Machine Interface provide users with a simplified interface for accessing applications while on the road. The OS is an Android-based infotainment system that allows for a vehicle-optimized, stand-alone Android device to be placed inside the head unit. In place of the phone apps, users install driver-optimized versions of the app directly onto the console. This streamlined experience enables the driver to perform efficient tasks, such as climate control, maps, phone, audio, etc..., in the convenience of their vehicle.
3.3.2. Introduction
In this user guide, we will show the key differences between the standard (tablet) configuration and the Android Automotive interface. The look and feel of the applications will differ in the sense that they’ll be specially tuned towards an automotive experience. We will also show how to switch at build time between the different target types (tablet and automotive). The AM57xx BeagleBoard-X15 Sitara platform was used since this is the only currently supported TI platform for development in the Android Open Source Project. The same work accomplished on the AM57xx BeagleBoard-X15 can be extended to a new platform; we will use the AM65x EVM module as an example. Finally, we will discuss the future work involved when enabling these features on a more automotive-tuned platform once it’s available.
- By default, the TI development board will launch with a tablet user interface:
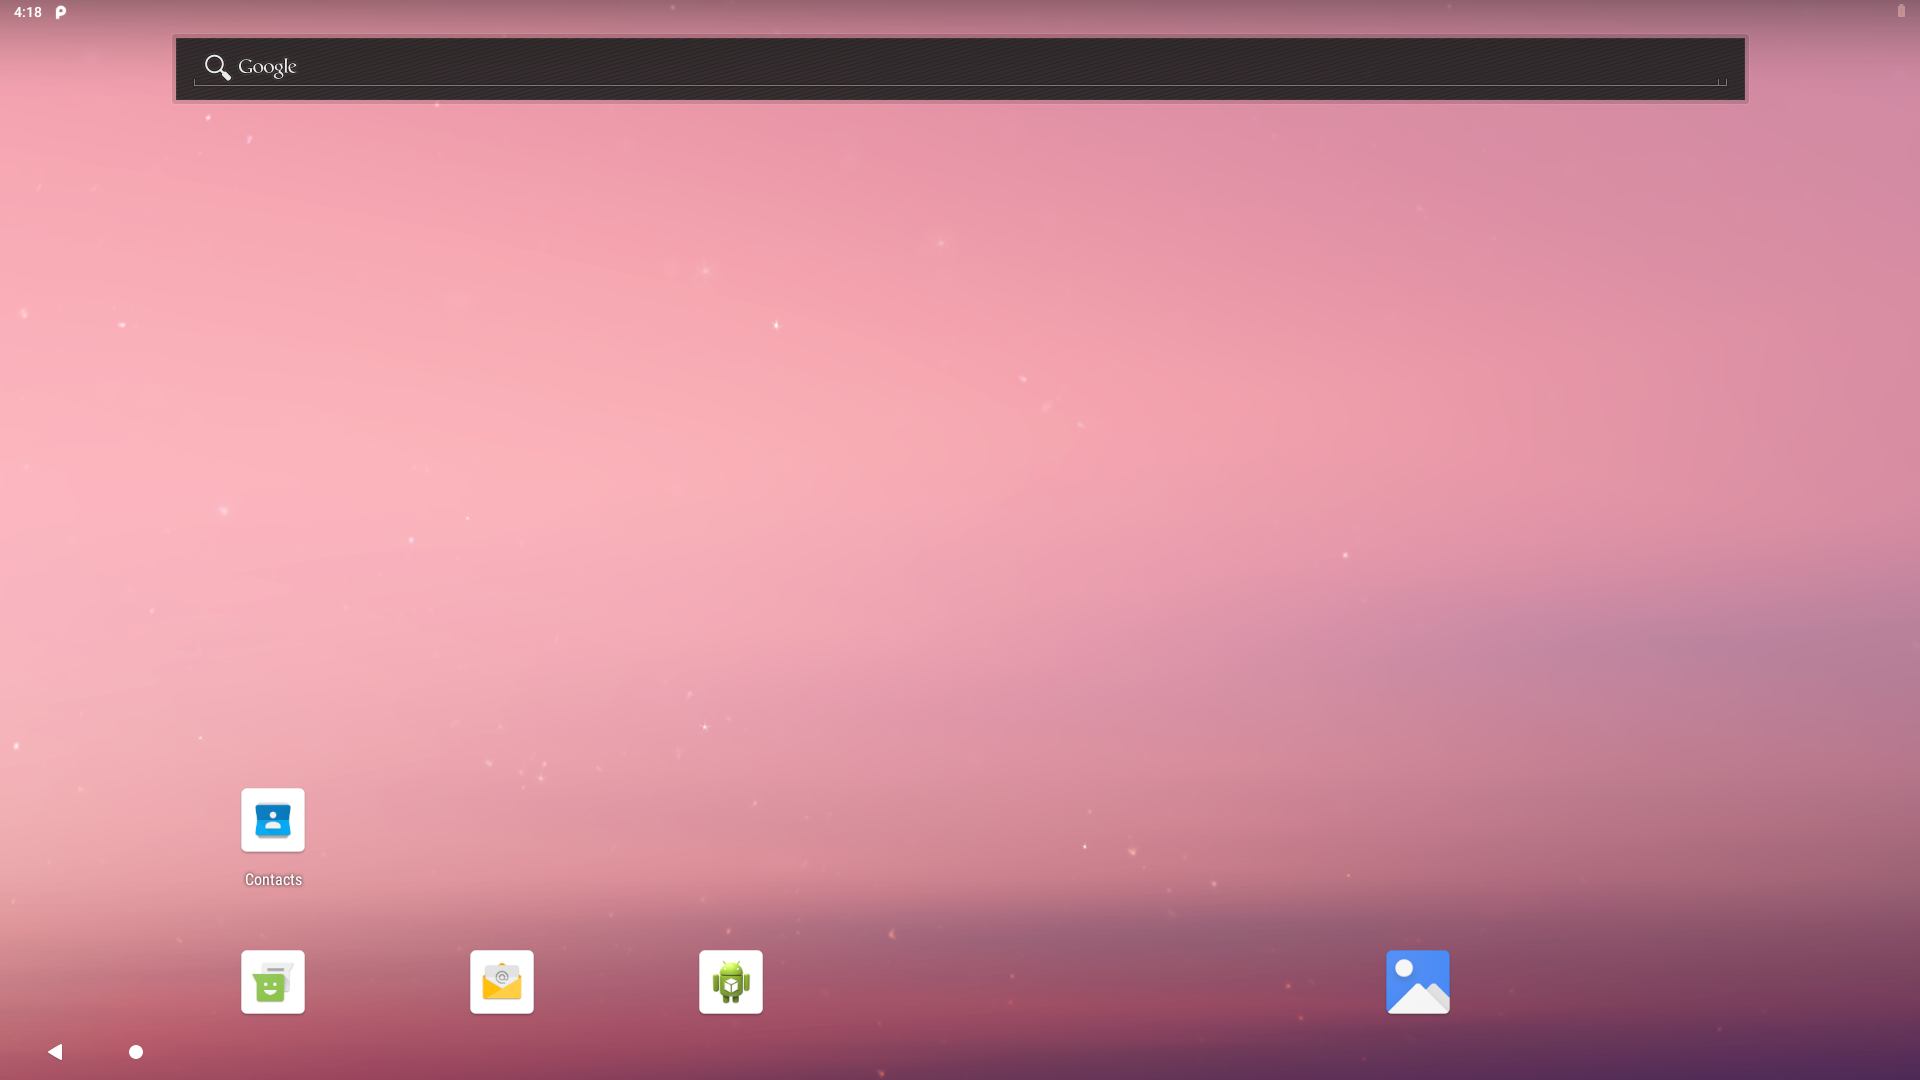
Figure 1. Home Screen for Tablet Configuration.
- After creation of the automotive target on the TI development board, the following user interface will be available:
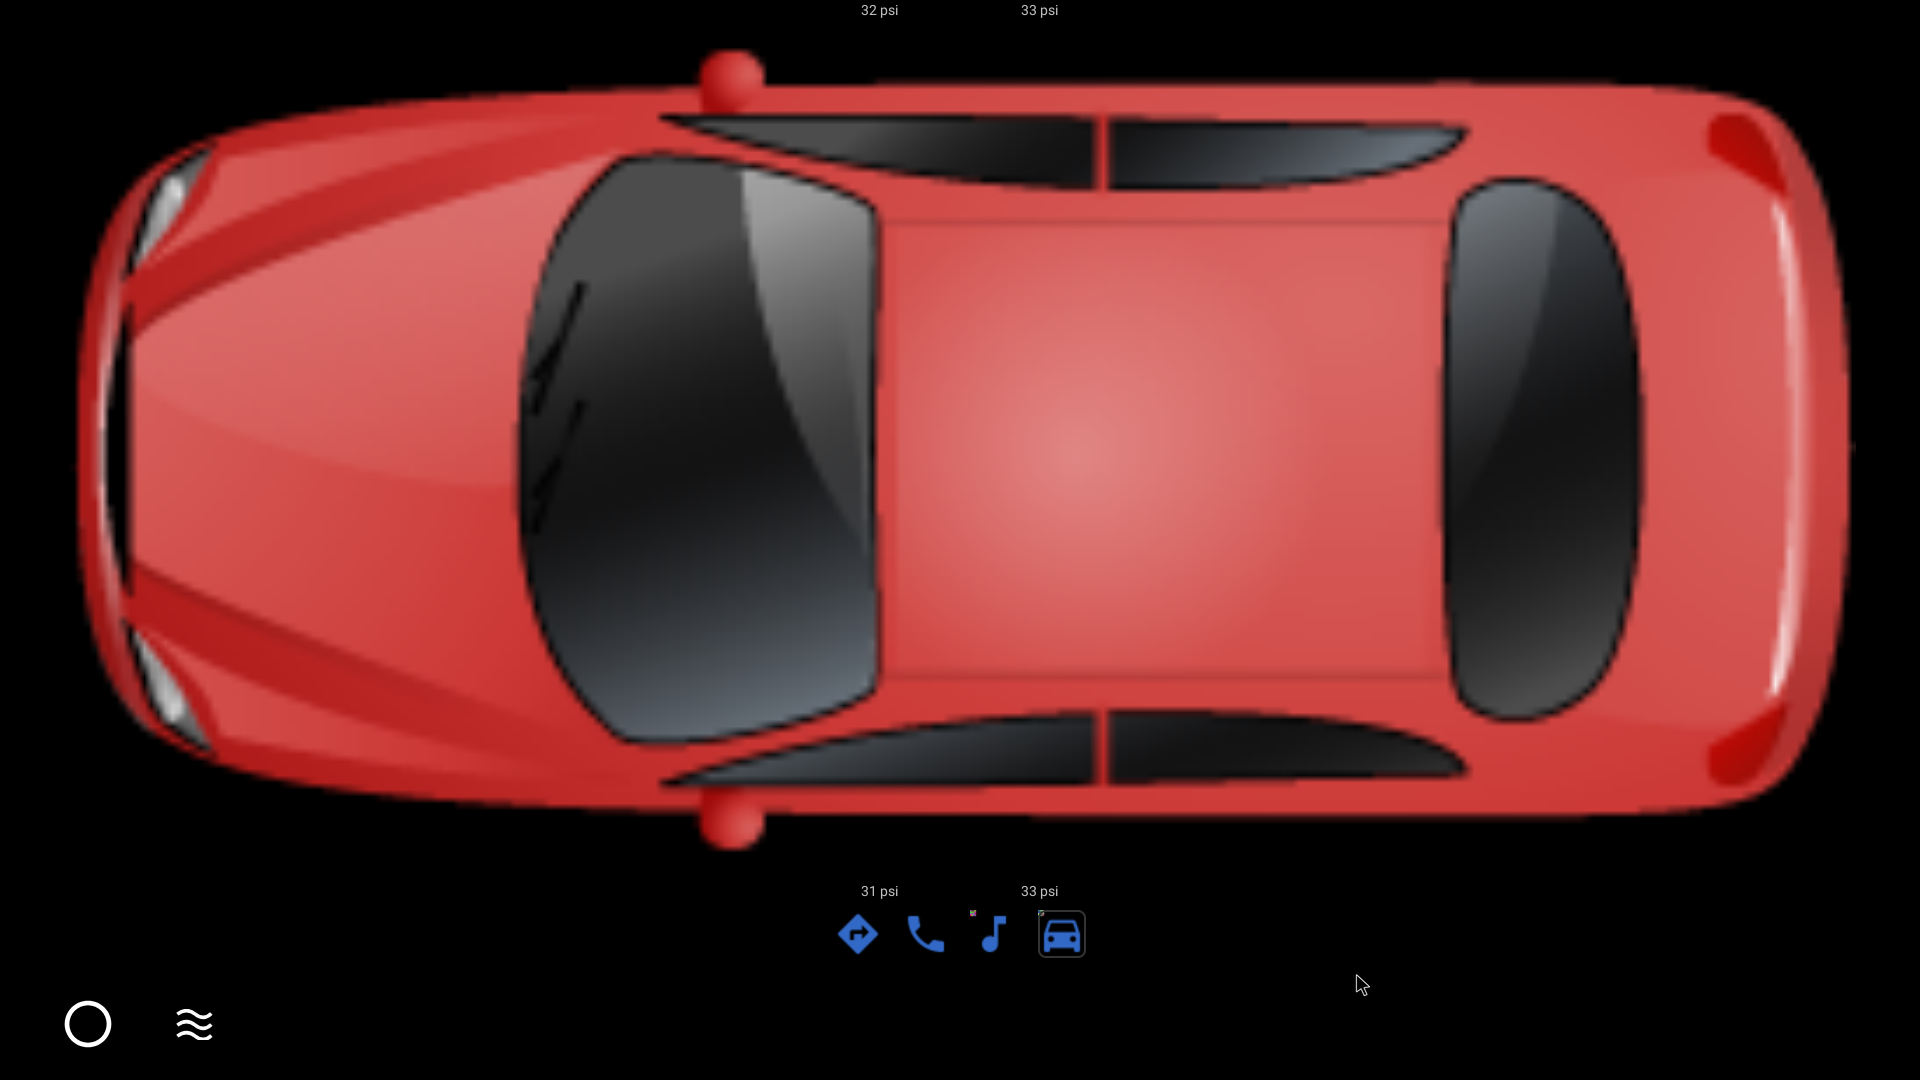
Figure 2. Start Screen for Automotive Configuration, Depicting a Car With PSI Information Near Tires.
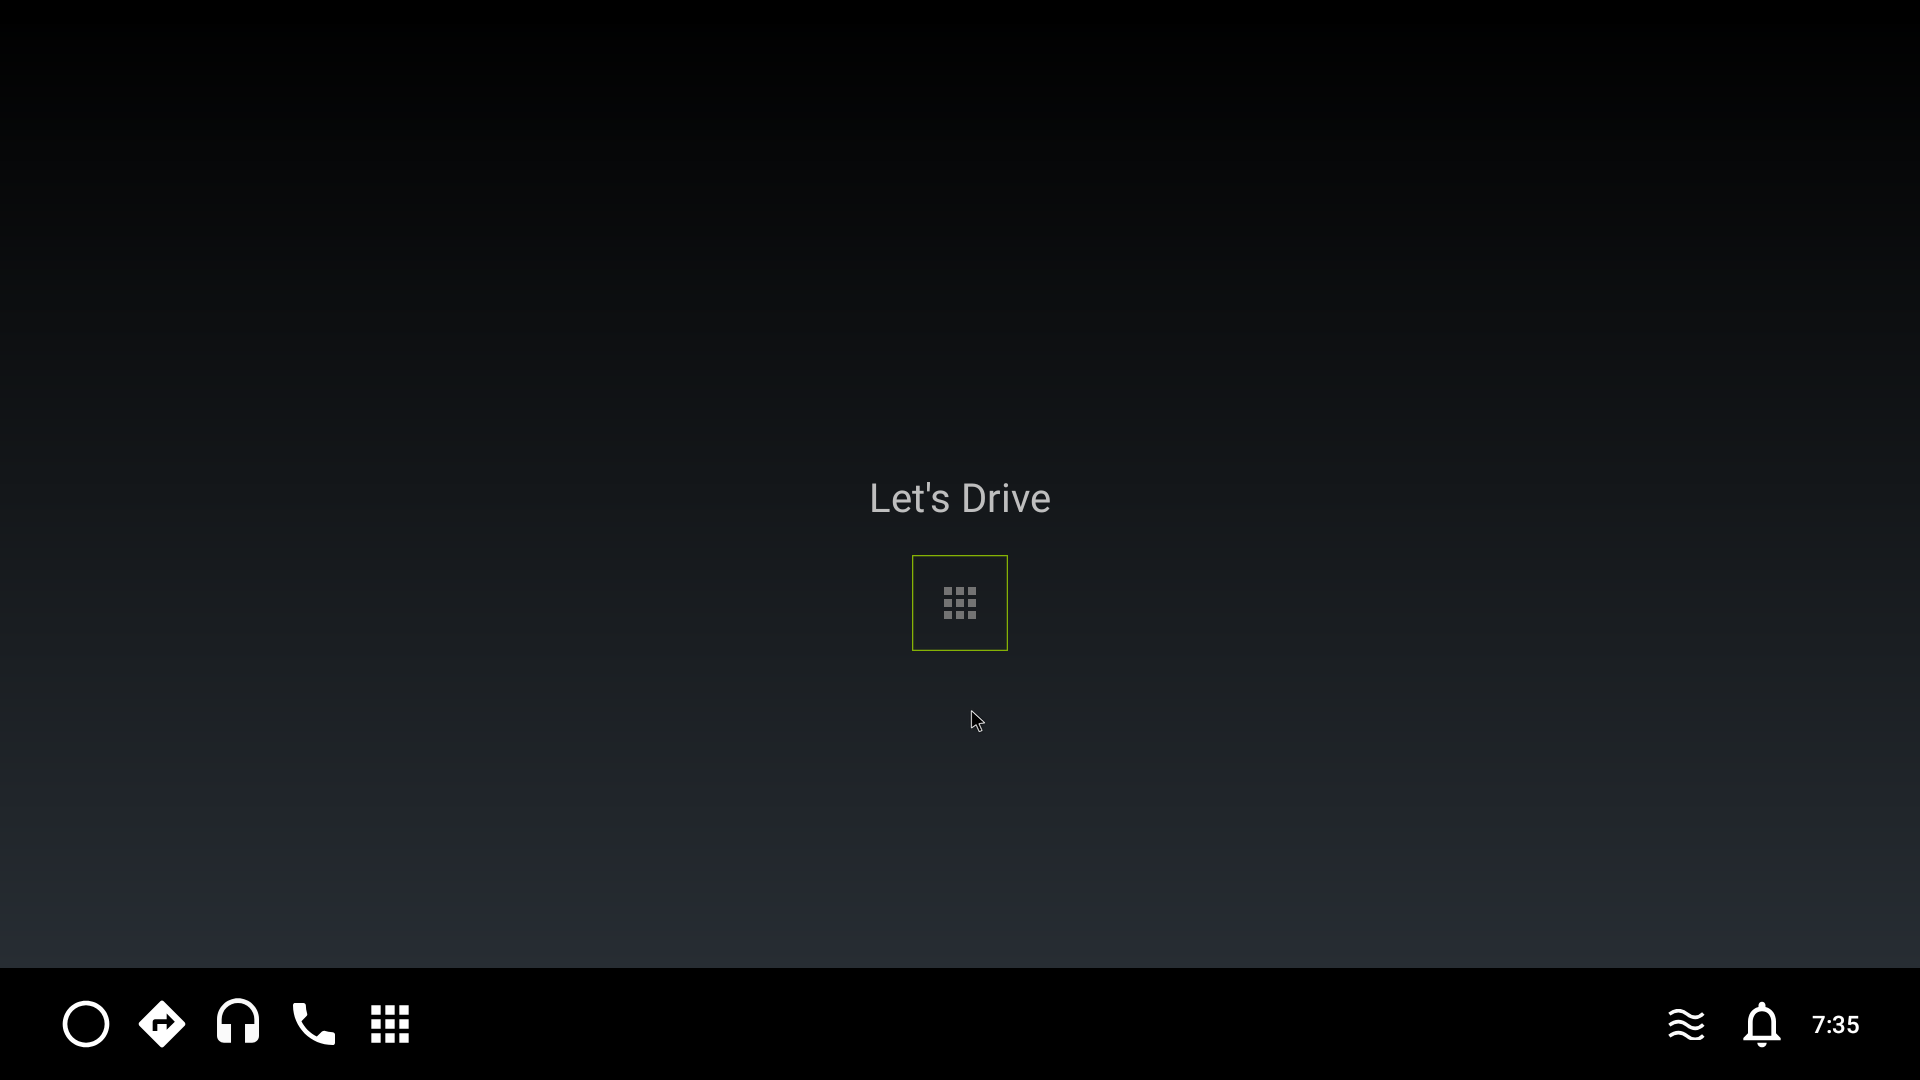
Figure 3. “Let’s Drive” Interface for Automotive Configuration (allowing you to interact with applications by selecting the icon in the middle)
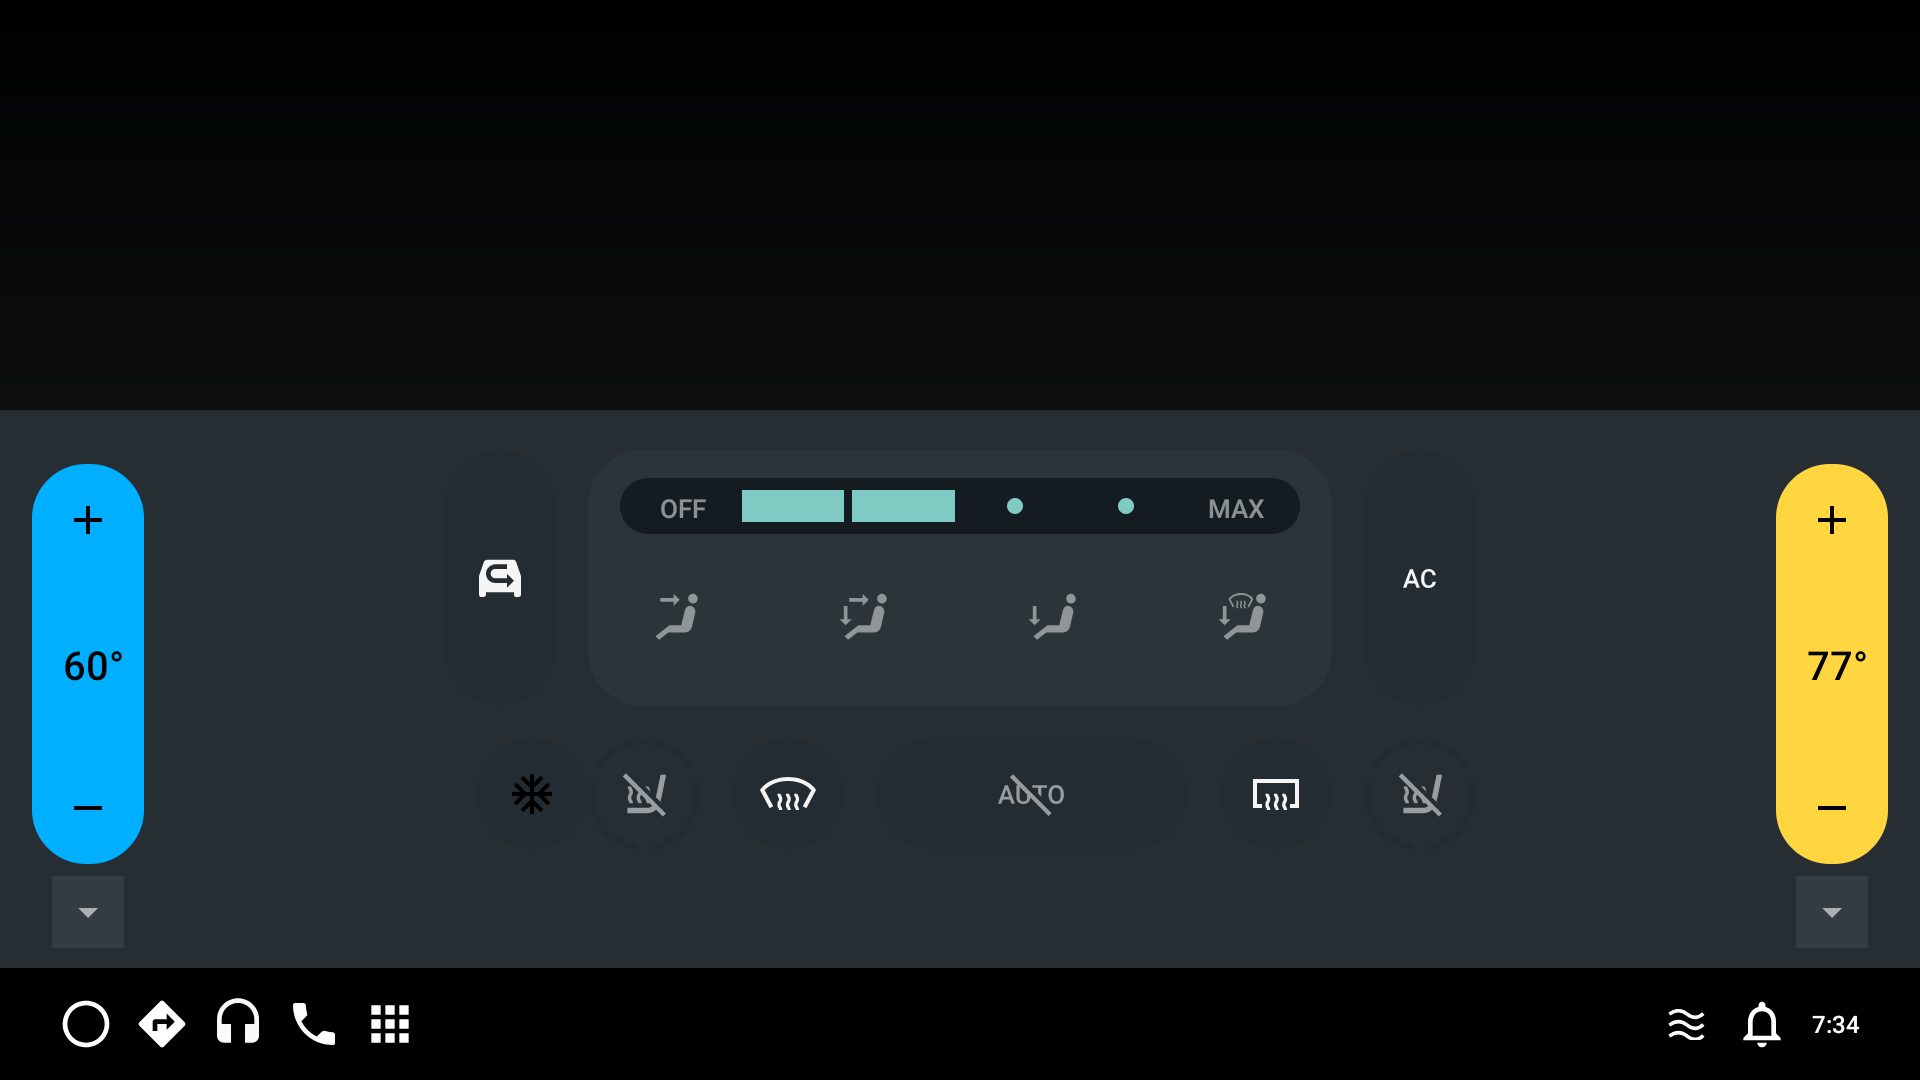
Figure 4. Climate Control Interface for Automotive Configuration (allowing you to adjust temperature, fan speed and direction, seat warmers, and so forth)
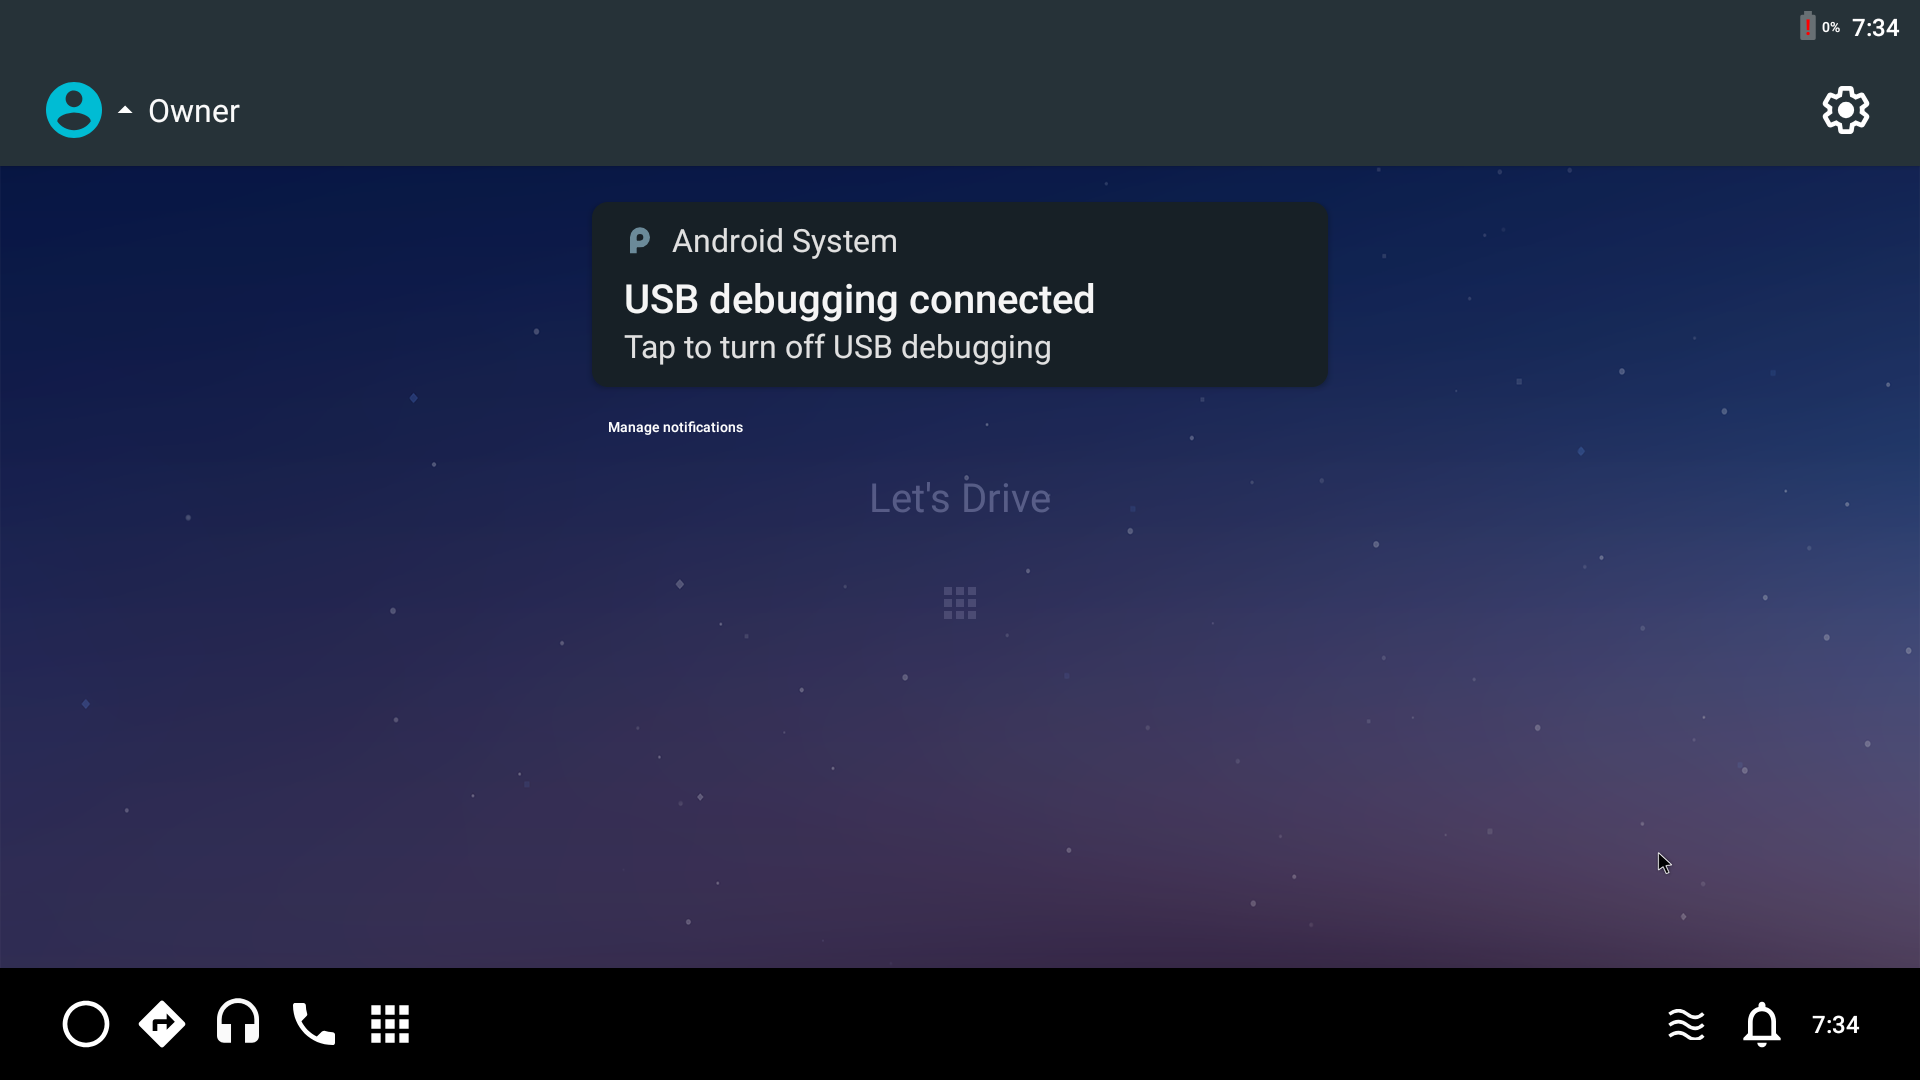
Figure 5. Notification Pane for Automotive Configuration (presenting you with up-to-date notifications regarding your vehicle)
3.3.3. Implementation
3.3.3.1. Prerequities
Check to make sure your setup meets the hardware and software requirements as given by Android.
- Environment setup:
- Android Pastry Version: Pie (based on http://git.ti.com/cgit/cgit.cgi/android/manifest.git/log/?h=pie-core-release)
- Linux Kernel: ti-android-linux-4.19.y
- Toolchain: gcc-arm-8.3-2019.03-x86_64-arm-linux-gnueabihf
Follow the steps provided in the Processor SDK Android 1.1 Getting Started Guide to install the necessary components and 1.3 Building the SDK to prepare for development on the TI microprocessor.
Ensure that your device meets the Automotive Requirements defined by the Android Compatibility Definition.
3.3.3.2. Software Changes
Note
Please change directory to your Android File System before continuing.
- Changes inside device/ti/beagle_x15/AndroidProducts.mk:
- These changes add a new lunch combo called “beagle_x15_auto-userdebug” and it’s path to the relative top-level makefile.
 PRODUCT_MAKEFILES += \
-    $(LOCAL_DIR)/beagle_x15.mk \
+    beagle_x15:$(LOCAL_DIR)/beagle_x15.mk \
+    beagle_x15_auto:$(LOCAL_DIR)/auto/beagle_x15.mk \

 COMMON_LUNCH_CHOICES := \
     beagle_x15-userdebug \
+    beagle_x15_auto-userdebug \
- Changes inside device/ti/beagle_x15/BoardConfig.mk:
- Conditional is needed to differentiate the content that is included depending on the TARGET_PRODUCT (macro set by lunch combo)
- DEVICE_MANIFEST_FILE adds the auto-specific manifest file to the build
BOARD_SEPOLICY_DIRS += \
    device/ti/beagle_x15/sepolicy

+ifeq ($(TARGET_PRODUCT),beagle_x15_auto)
+BOARD_SEPOLICY_DIRS += \
+   packages/services/Car/car_product/sepolicy
+
+DEVICE_MANIFEST_FILE += device/ti/beagle_x15/auto/manifest.xml
+endif
+
- Create an auto directory inside of device/ti/beagle_x15.
Note
The following steps will all be completed inside the device/ti/beagle_x15/auto directory.
- Create a top-level makefile for the “beagle_x15_auto-userdebug” lunch combo.
- The top-level makefiles are inherited to include all necessary components (PRODUCT_PACKAGES, PRODUCT_COPY_FILES, PRODUCT_PROPERTY_OVERRIDES, and so forth) to enable desired features.
- auto/device.mk and car.mk are crucial to enabling all automotive-specific features.
- The content inside the car.mk, the common makefile for all car builds, can be found here.
- car.mk then inherits car_base.mk, the base platform for car builds, whose content can be found here.
- Inside car_base.mk, the auto-specific PRODUCT_PROPERTY_OVERLAYS are added to customize the product at build time.
Insert the following content:
$(call inherit-product, device/ti/beagle_x15/device.mk)
$(call inherit-product, device/ti/beagle_x15/auto/device.mk)
$(call inherit-product, $(SRC_TARGET_DIR)/product/full_base.mk)
$(call inherit-product, packages/services/Car/car_product/build/car.mk)

PRODUCT_NAME := beagle_x15_auto
PRODUCT_DEVICE := beagle_x15
PRODUCT_BRAND := Android
PRODUCT_MODEL := AOSP Auto on BeagleBoard X15
PRODUCT_MANUFACTURER := Texas Instruments Inc
- Create the device.mk to declare the auto-specific files and modules needed for the device.
- The android.hardware.automotive.vehicle@2.0-service PRODUCT_PACKAGE is the Android Automotive hardware abstraction layer (HAL), which is the interface definition between the car and the vehicle network service.
- The frameworks/../../../android.hardware.type.automotive.xml PRODUCT_COPY_FILE determines that the Android device implementation is classified as “Automotive”.
- Insert the following content:
PRODUCT_PACKAGES += \
        android.hardware.automotive.vehicle@2.0-service \

PRODUCT_COPY_FILES += \
        frameworks/native/data/etc/android.hardware.type.automotive.xml:$(TARGET_COPY_OUT_VENDOR)/etc/permissions/android.hardware.type.automotive.xml \
        frameworks/native/data/etc/android.hardware.screen.landscape.xml:$(TARGET_COPY_OUT_VENDOR)/etc/permissions/android.hardware.screen.landscape.xml \

PRODUCT_PROPERTY_OVERRIDES += \
        android.car.drawer.unlimited=true \
        android.car.hvac.demo=true \
        com.android.car.radio.demo=true \
        com.android.car.radio.demo.dual=true \
- Create the manifest.xml to provide the HAL(s) specific to automotive.
- Beagle_x15 requires the android.hardware.automotive.vehicle inclusion to define the product as automotive.
- Insert the following content:
<manifest version="1.0" type="device">
    <hal format="hidl">
        <name>android.hardware.automotive.vehicle</name>
        <transport>hwbinder</transport>
        <version>2.0</version>
        <interface>
            <name>IVehicle</name>
            <instance>default</instance>
        </interface>
    </hal>
</manifest>
3.3.4. Deploy Instructions
3.3.4.1. Build Instructions
- Change directory to your Android File System:
- To setup your build environment, run the following script:
$ . ./build/envsetup.sh
- To view the “lunch” menu and select a combo (TARGET_PRODUCT):
$ lunch
- Select the desired TARGET_PRODUCT (<board>_auto-userdebug)
- Export the path to your Kernel directory:
$ export KERNELDIR=<path_to_kernel_directory>
- Build:
$ make -j<number_of_cores>
3.3.4.2. Boot Instructions
- Once build is complete, prepare your eMMC binaries and images:
- Make a copy of the prebuilt-images directory to be used as a working directory for flashing.
Note
Review the <Android_FS>/device/ti/<board>/fastboot.sh for exact images to copy into flashing directory.
AM5
cd ~/ti-processor-sdk-android-beagle_x15-<version>/board-support/
cp -r prebuilt-images emmc_files
cp -v ./aosp-<version>/out/target/product/beagle_x15/boot.img emmc_files
cp -v ./aosp-<version>/out/target/product/beagle_x15/system.img emmc_files
cp -v ./aosp-<version>/out/target/product/beagle_x15/userdata.img emmc_files
cp -v ./aosp-<version>/out/target/product/beagle_x15/recovery.img emmc_files
cp -v ./aosp-<version>/out/target/product/beagle_x15/vendor.img emmc_files
cp -v ./aosp-<version>/out/target/product/beagle_x15/boot_fit.img emmc_files
cp -v ./aosp-<version>/device/ti/beagle_x15/fastboot.sh emmc_files
cp -v ./aosp-<version>/out/host/linux-x86/bin/{simg2img,mkbootimg,fastboot,adb} emmc_files
cp -v ./linux-<version>/arch/arm/boot/zImage emmc_files/zImage-beagle_x15.bin
cp -v ./linux-<version>/arch/arm/boot/dts/am57*.dtb emmc_files
cp -v ./u-boot-<version>/MLO emmc_files
cp -v ./u-boot-<version>/u-boot.img emmc_files
AM6
cd ~/ti-processor-sdk-android-am65xx-evm-<version>/board-support/
cp -r prebuilt-images emmc_files
cp -v ./aosp-<version>/out/target/product/am65xevm/system.img emmc_files
cp -v ./aosp-<version>/out/target/product/am65xevm/userdata.img emmc_files
cp -v ./aosp-<version>/out/target/product/am65xevm/vendor.img emmc_files
cp -v ./aosp-<version>/out/target/product/am65xevm/boot_fit.img emmc_files
cp -v ./aosp-<version>/device/ti/am65xevm/fastboot.sh emmc_files
cp -v ./aosp-<version>/out/host/linux-x86/bin/{simg2img,mkbootimg,fastboot,adb} emmc_files
cp -v ./aosp-<version>/out/host/linux-x86/lib64/{libc++.so,libcutils.so,liblog.so,libselinux.so,libpcre2.so} emmc_files
cp -v ./u-boot_build/a53/u-boot.img emmc_files
cp -v ./u-boot_build/a53/tispl.bin emmc_files
cp -v ./u-boot_build/r5/tiboot3.bin emmc_files
- Ensure the device is plugged in with USB Host and Debug UART/Serial Debug
- Open a terminal debugger to view console output from the device (dmesg: kernel ring buffer, logcat: log of system messages)
$ sudo picocom -b 115200 /dev/ttyUSB0
- Enable fastboot on the device through the terminal debugger:
=> fastboot 0
- In a different terminal, change directory to the device tarball and run the fastboot.sh script:
cd ~/ti-processor-sdk-android-<board>-<version>/board-support/emmc_files
~/ti-processor-sdk-android-<board>-<version>/board-support/emmc_files$ sudo ./fastboot.sh; sudo ./fastboot reboot
3.3.5. Testing
3.3.5.1. Prerequisites/Setup
3.3.5.1.1. Compatibility Test Suite (CTS)
- Runs on your desktop and executes a series of test cases on the connected device(s)
- The intent is to reveal incompatibilities or malfunctions, ensure API compatibility and CDD compliance while developing the automotive configuration and additional related software components (Overview of CTS)
- Ensure the latest versions of both Android Debug Bridge (adb) and Android Asset Packaging Tool (AAPT) are installed and those tools’ location(s) are added to the system path of your machine.
$ sudo apt-get install adb aapt
Note
The SDK should already come with adb and aapt so the above command will either update/upgrade them or return the message:
“aapt is already the newest version <version_number>”
“adb is already the newest version <version_number>”
- Download the CTS packages matching your devices’ Android version and the Application Binary Interfaces (ABIs) your devices support.
- Unzip the CTS packages inside of ~/ti-processor-sdk-android-<board>-<version>/board-support/emmc_files.
$ cd ~/ti-processor-sdk-android-<board>-<version>/board-support/emmc_files
$ unzip ~/Downloads/android-cts-<version>.zip .
- You may need to override the ro.product.first_api_level property in order to ensure upgrade requirements are applied.
- Find the valid override values on Codenames, Tags, and Build Numbers.
- The following would be done inside the relative device.mk file:
PRODUCT_PROPERTY_OVERRIDES += ro.product.first_api_level=<Valid_Override_Value>
3.3.5.1.2. Vendor Test Suite (VTS)
- Used for automated HAL and OS Kernel testing
- Complete the steps given at Systems Testing with VTS
3.3.5.2. Automotive Testing
3.3.5.2.1. Compatibility Test Suite (CTS)
- While inside the ~/ti-processor-sdk-android-<board>-<version>/board-support/emmc_files directory, run the following commands:
$ cd android-cts/tools
$ sudo ./cts-tradefed
- Ensure that the Device Under Test (DUT) is found when launching cts-tradefed.
The following output should be seen:
Android Compatibility Test Suite [Version] (5550264)
Use "help" or "help all" to get more information on running commands.
[Date] [Time] I/DeviceManager: Detected new device #
cts-tf >
If the above message isn’t seen, inside ~/ti-processor-sdk-android-<board>-<version>/board-support/emmc_files, run the following command:
$ sudo ./adb devices
If your device does not show up here, run the following commands inside ~/ti-processor-sdk-android-<board>-<version>/board-support/emmc_files:
$ sudo ./adb kill-server
$ sudo ./adb start-server
- Retry $ sudo ./adb devices.
- If your device still does not show up, reboot the device and retry the above steps.
Once the DUT is found, continue:
cts-tf > run cts --module CtsCarTestCases
- “cts-tf > list modules” will list all modules and “cts-tf > list plans” will list all plans.
- CtsCarTestCases will run car-specific test cases.
- To exit CTS, “cts-tf > exit”.
- Test Results
Located in android-cts/results/<time_stamp>.
~/ti-processor-sdk-android-<board>-<version>/board-support/emmc_files$ cd android-cts/results/<time_stamp>
3.3.5.2.2. Vendor Test Suite (VTS)
- Running VTS Tests
~$ vts-tradefed
vts-tf > list plans
We are interested in the vts-hal-auto, described as the “VTS automotive vehicle HAL test.” The full list of plans can be found here
vts-tf > run vts-hal-auto
- Test Results
Path should be given on completion of test
~$ cd <Android_FS>/out/host/linux-x86/vts/android-vts/results/<time_stamp>
3.3.6. Open Source
3.3.7. Extending to a New Platform
The work that was completed on the AM57xxx BeagleBoard-X15 in the Implementation -> Software Changes section can be extended to new platforms. The AM65x EVM is used as an example here. The differences between what was given in Implementation -> Software Changes and what is used for AM65x EVM are as follows:
- Automotive feature enablement on AM65x EVM is merged to Texas Instruments Repository
- Changes inside device/ti/am65xevm/AndroidProducts.mk:
 PRODUCT_MAKEFILES := \
+       am65xevm_auto:$(LOCAL_DIR)/auto/am65xevm_auto.mk \

 COMMON_LUNCH_CHOICES := \
+       am65xevm_auto-userdebug \
- Changes inside device/ti/am65xevm/BoardConfig.mk:
+ifeq ($(TARGET_PRODUCT), am65xevm_auto)
+BOARD_SEPOLICY_DIRS += \
+       packages/services/Car/car_product/sepolicy
+
+DEVICE_MANIFEST_FILE += device/ti/am65xevm/auto/manifest.xml
+endif
- Changes inside device/ti/am65xevm/auto/am65xevm.mk:
+$(call inherit-product, device/ti/am65xevm/auto/device.mk)
+$(call inherit-product, packages/services/Car/car_product/build/car.mk)
+
+PRODUCT_NAME := am65xevm_auto
+PRODUCT_DEVICE := am65xevm
+PRODUCT_BRAND := TI
+PRODUCT_MODEL := AOSP Auto on AM65x EVM
+PRODUCT_MANUFACTURER := Texas Instruments Inc
- Changes inside device/ti/am65xevm/auto/device.mk:
+#Automotive
+PRODUCT_PACKAGES += \
+       android.hardware.automotive.vehicle@2.0-service \
+
+PRODUCT_COPY_FILES += \
+       frameworks/native/data/etc/android.hardware.type.automotive.xml:$(TARGET_COPY_OUT_VENDOR)/etc/permissions/android.hardware.type.automotive.xml \
+       frameworks/native/data/etc/android.hardware.screen.landscape.xml:$(TARGET_COPY_OUT_VENDOR)/etc/permissions/android.hardware.screen.landscape.xml \
+
+PRODUCT_PROPERTY_OVERRIDES += \
+       android.car.drawer.unlimited=true \
+       android.car.hvac.demo=true \
+       com.android.car.radio.demo=true \
+       com.android.car.radio.demo.dual=true \
- Content inside device/ti/am65xevm/auto/manifest.xml:
+<manifest version="1.0" type="device">
+    <hal format="hidl">
+        <name>android.hardware.automotive.vehicle</name>
+        <transport>hwbinder</transport>
+        <version>2.0</version>
+        <interface>
+            <name>IVehicle</name>
+            <instance>default</instance>
+        </interface>
+    </hal>
+</manifest>
3.3.8. Known Bugs
Note
These are known issues and may be resolved in the future depending on their impacts.
- Sepolicy output while the device is running
~/ti-processor-sdk-android-<board>-<version>/board-support/emmc_files$ sudo ./adb shell dmesg | grep denied | audit2allow -p <Android_FS>/out/target/product/beagle_x15/obj/ETC/sepolicy_intermediates/sepolicy
- You may see the following errors:
#============== carservice_app ==============
allow carservice_app runtime_event_log_tags_file:file map;

#============== hal_vehicle_default ==============
allow hal_vehicle_default node:tcp_socket node_bind;
allow hal_vehicle_default self:tcp_socket { accept bind create listen };
- These cannot be resolved at this time due to SEPolicy neverallow
- Power manager service is failing
- You may see the following errors:
E CarPowerManagerNative: Received unknown bootReason = 0
E PowerTestService: ERROR: Could not read bootReason!!
- CTS test_result_failures.html output when tested on pie-core-release branch with an AM57xx BeagleBoard-X15 and an AM65x EVM
- test_result_failures.html returned one failed test
- android.car.cts.CarBluetoothTest#testRequiredBluetoothProfilesExist
- Details
- java.lang.NullPointerException: Attempt to invoke virtual method ‘boolean android.bluetooth.BluetoothAdapter.disable()’ on a null object reference
This is expected since the AM57xx BeagleBoard-X15 and AM65x EVM do not support Bluetooth at this time.
3.3.9. Future Work
Enable Android Auto Human-Machine Interface on new automotive-tuned TI platforms
- Migrate to Android Q Pastry Version
- Add multiple hardware display support
- Interactive: Individual input mapping, decorative elements and IME (soft keyboard)
- Driver: Main IVI display with all UX restrictions applied
- Passenger: Add support for more types of apps and individual launchers for each screen
Multiple users with “headless” system, where a user is not associated with a real user and doesn’t have a lock screen
- Multi-zone Audio
- A zone is a collection of audio devices and each user device can only be in one zone
- Within each zone, audio usage determines which device the audio is routed to
3.3.10. FAQ
- What is important about this topic?
- This topic allows the entire Android Open Source community to benefit from an additional feature: Android Automotive on all currently supported Texas Instruments ARM32B and ARM64B platforms, including AM57xx BeagleBoard-X15 and AM65x EVM. Android Automotive will also be applicable to all new automotive-tuned TI platforms.
- Who is the intended end user?
- The intended end user(s) include the Automotive Business Unit for Digital Cockpit implementation targeted at infotainment customers who need a graphically rich user interface with an Android extensive app store on a Texas Instruments digital application processor.
- When will this document be used?
- This document is intended to implement Android Automotive on any application processor that is designed to showcase and use the functionality of Android.
3.3.11. References
- Jacinto 6 EVM on d-oreo-mr1-release: Changes for defining auto platform
- Google Cuttlefish Auto (cf_x86_64_auto-userdebug)
- AOSP Generic Car (aosp_car_x86_64-userdebug)