|
AM64x MCU+ SDK
08.02.00
|


|
|
AM64x MCU+ SDK
08.02.00
|
|
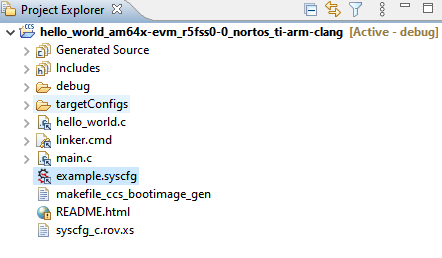
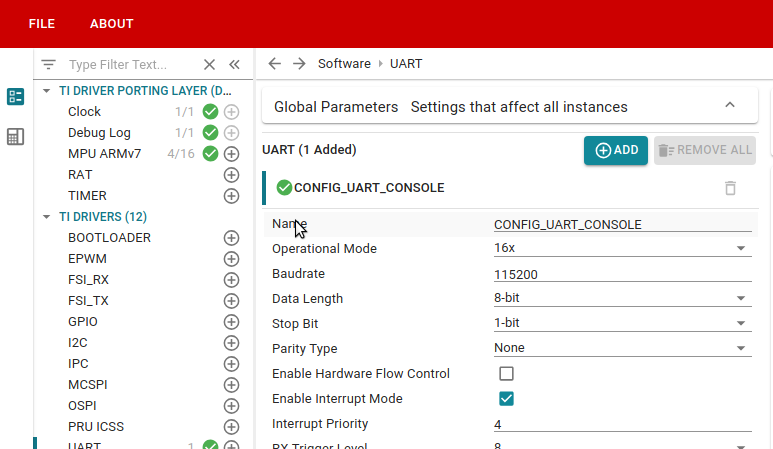
make instead of gmakeAll the SDK examples can be configured using a GUI tool called SysConfig. Users can choose and configure various modules using this tool. The SysConfig tool will generate the boilerplate code for initializing these modules. Each example will have an example.syscfg file to which the configuration will be saved to. When creating an example for the first time, this can be an empty file.
In this SDK, SysConfig is used to:
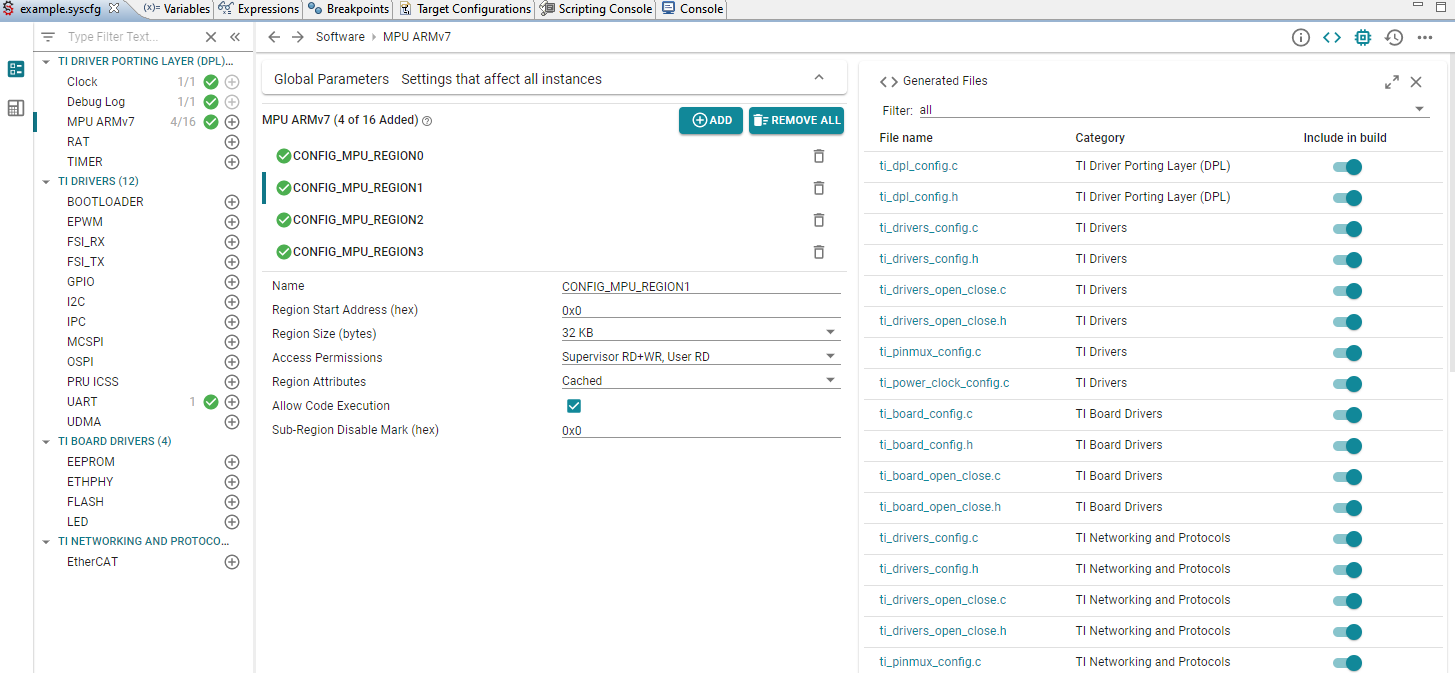

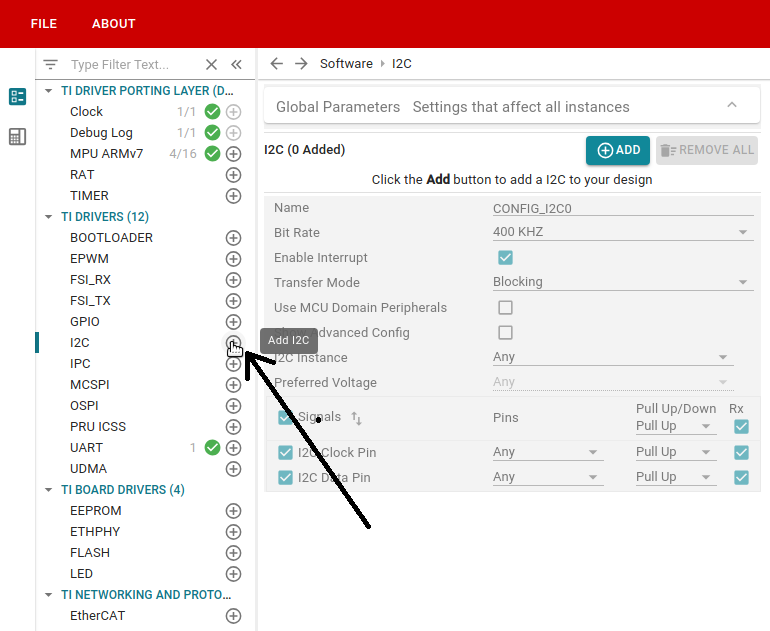
Adding module instance from left column | 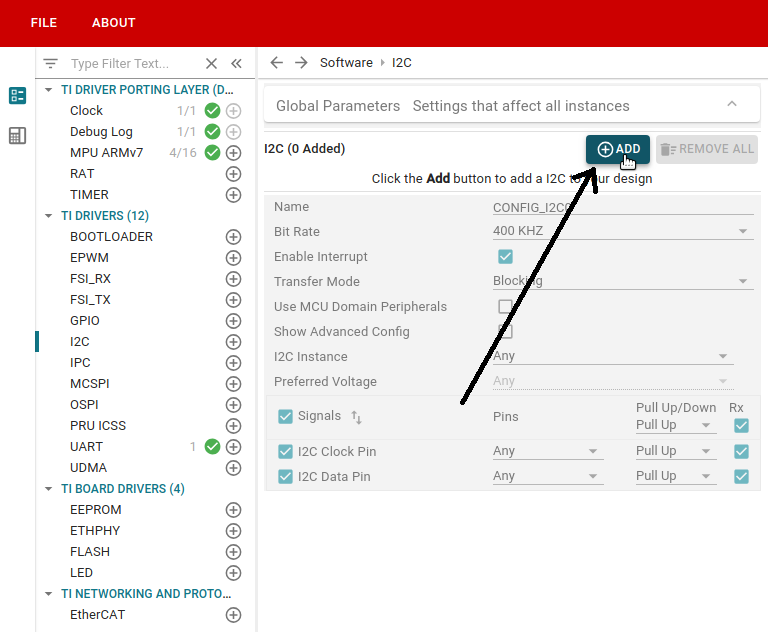
Adding module instance from main column |
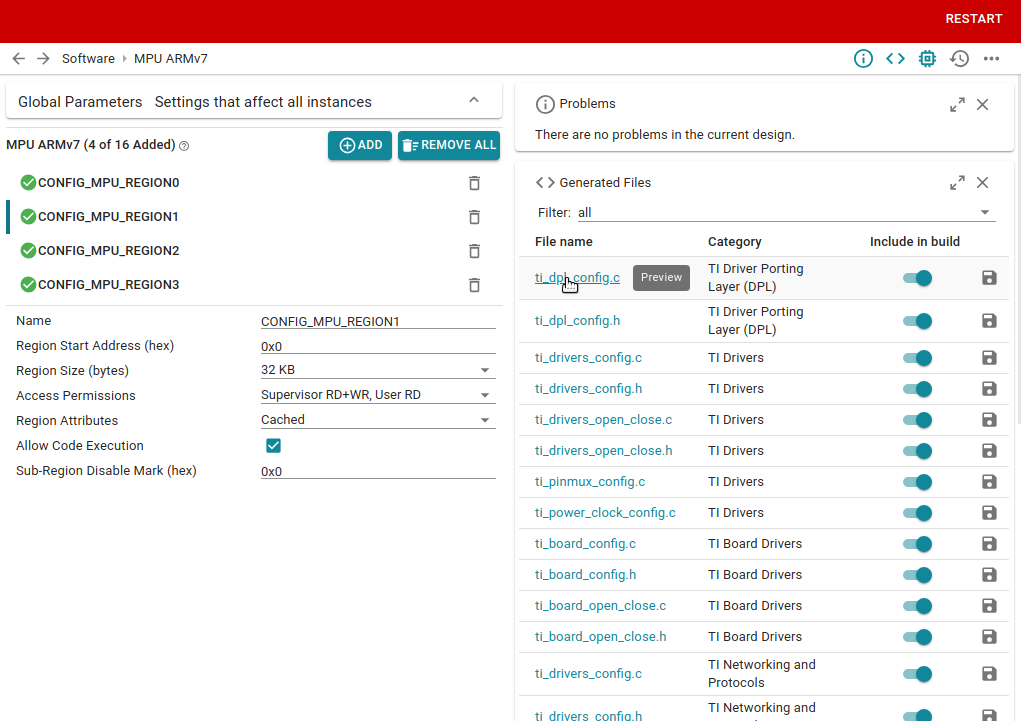
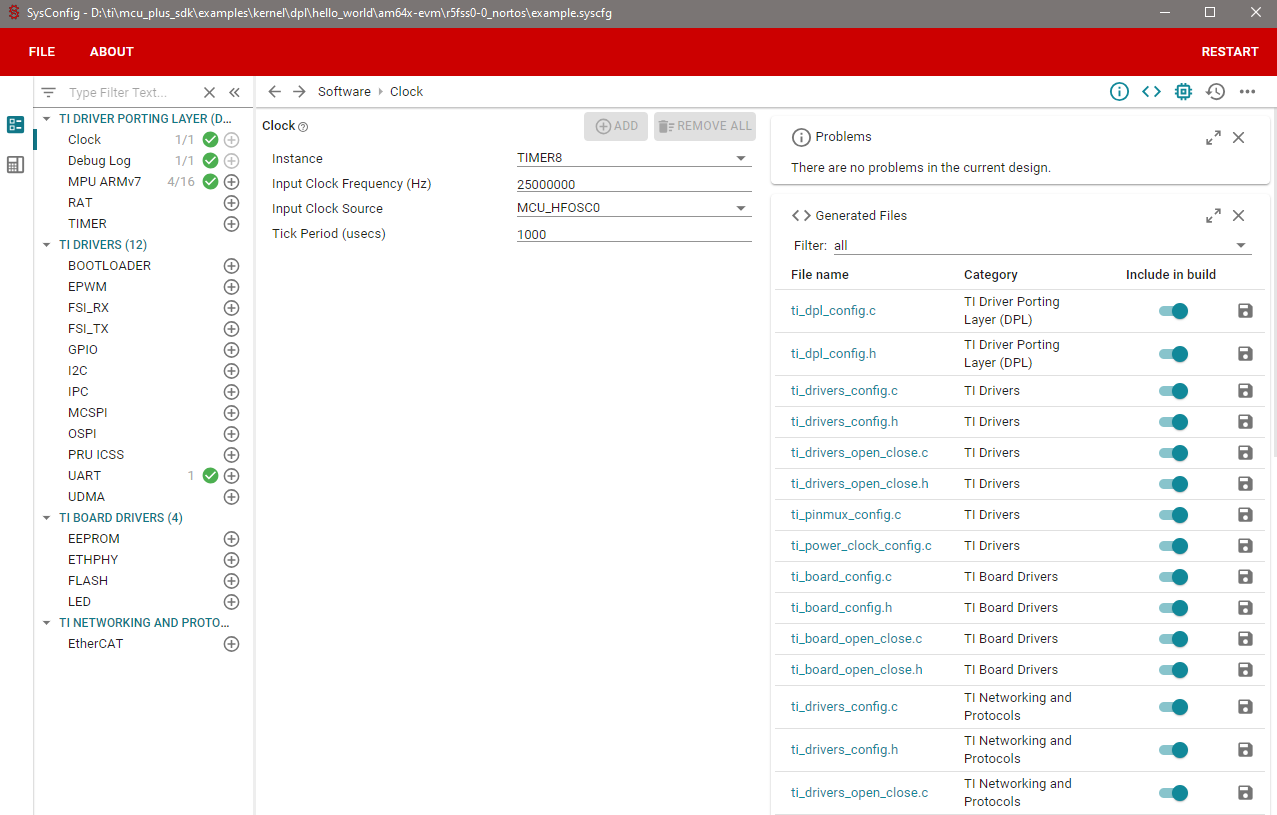
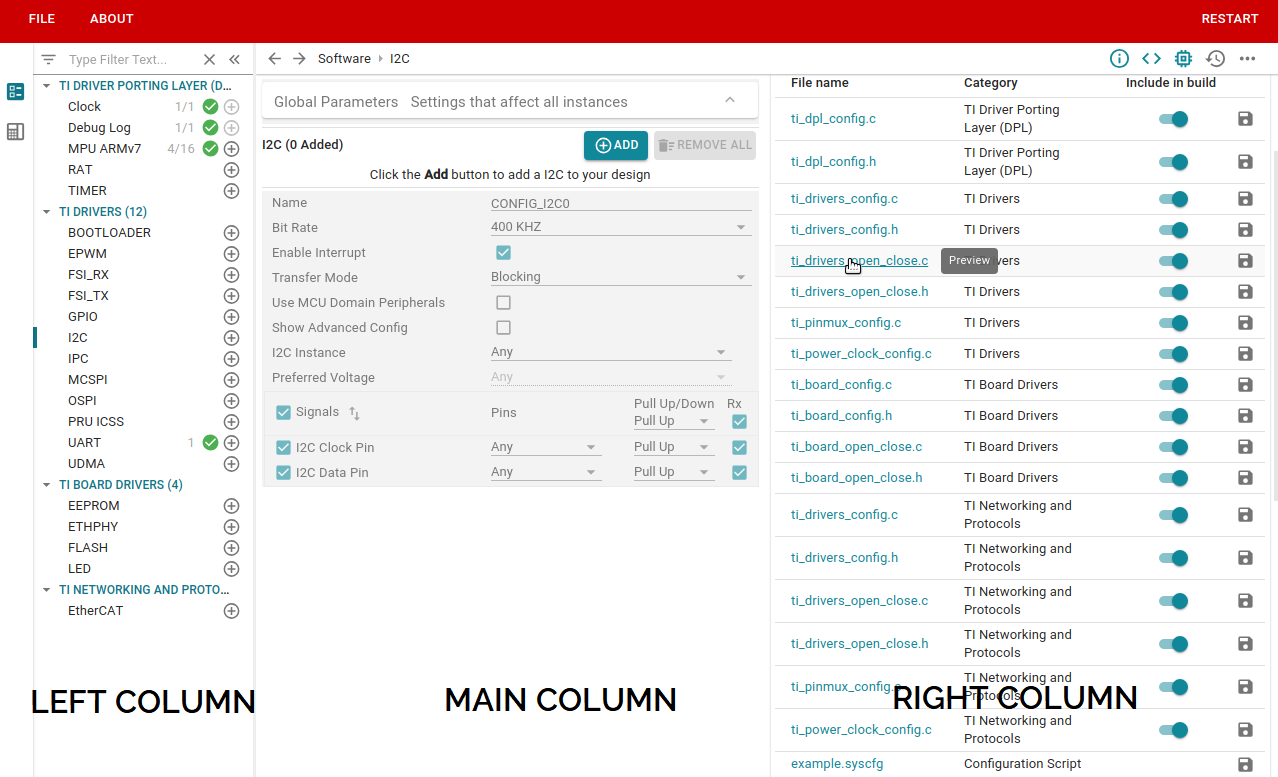
Files generated by SysConfig | 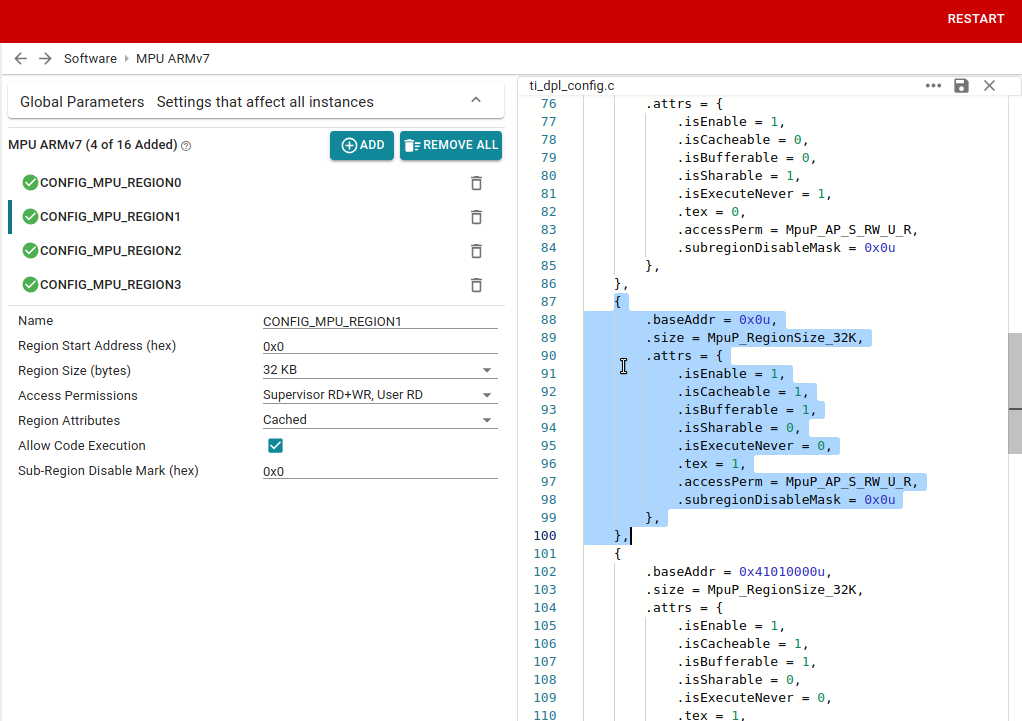
Generated file contents |
| Generated file | Description |
|---|---|
| ti_dpl_config.c | Source file containing the configurations of various DPL modules like the AddrTranslate, MPU, Clock, Timer etc. This will also contain definitions of Dpl_init() and Dpl_deinit() functions |
| ti_dpl_config.h | Header file containing declarations of Dpl_init() and Dpl_deinit() functions. This will also include the dpl interface header file, so that the application need not explicitly include that |
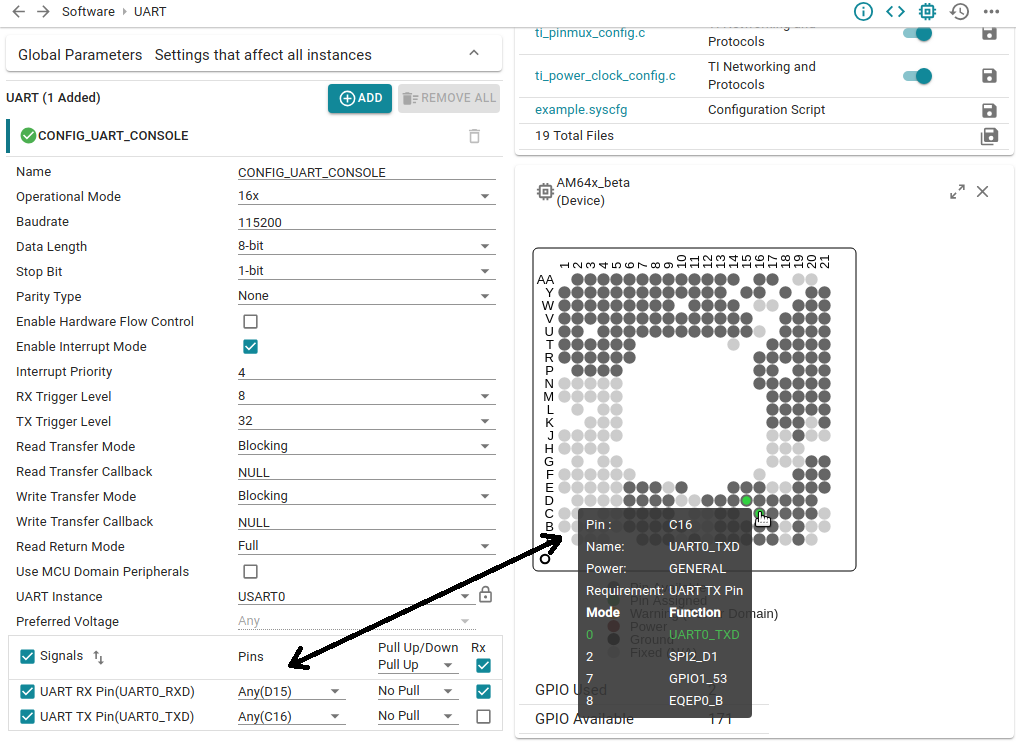
| ti_drivers_config.c | Source file containing the configurations of various driver modules like UART, I2C, OSPI etc. This will also contain definitions of System_init() and System_deinit() functions. These functions will internally call init and deinit functions of respective drivers |
| ti_drivers_config.h | Header file containing definitions of various macros related to the configuration of driver modules and declarations of System_init() and System_deinit() functions. This will also include the interface header files for the driver modules applicable, so that the application need not explicitly include that |
| ti_drivers_open_close.c | Source file containing the open parameters of various driver modules like UART, I2C, OSPI etc. This will also contain definitions of Drivers_open() and Drivers_close() functions. These functions will internally call open and close functions of respective drivers. This file will also have the definitions of the handles of respective driver modules |
| ti_drivers_open_close.h | Header file containing externs of handles and open params related to the configuration of driver modules and declarations of Drivers_open() and Drivers_close() functions |
| ti_pinmux_config.c | Source file containing pinmux configuration data structures |
| ti_power_clock_config.c | Source file containing power and clock configuration data for all the modules in the example and definition of PowerClock_init() and PowerClock_deinit() functions and other internal functions required to configure power and clock for the modules |
| ti_board_config.c | Source file containing the configurations of various board modules like Flash, EEPROM, LED etc. This will also contain definitions of Board_init() and Board_deinit() functions. These functions will internally call init and deinit functions of respective board modules |
| ti_board_config.h | Header file containing definitions of varios macros related to configurations of various board modules and declarations of Board_init() and Board_deinit() functions |
| ti_board_open_close.c | Source file containing the open parameters of various board modules like Flash, EEPROM, LED etc. This will also contain definitions of Board_driversOpen() and Board_driversClose() functions. These functions will internally call open and close functions of respective modules. This file will also have the definitions of the handles of respective board modules |
| ti_board_open_close.h | Header file containing externs of handles and open params related to the configuration of board modules and declarations of Board_driversOpen() and Board_driversClose() functions |
| example.syscfg | Configuration file to which all the changes made in the GUI is saved |
 1.8.20