- Note
- The steps on this page need to be done once on a given host machine
Download CCS
- The Code Composer Studio (CCS) download home page is, https://www.ti.com/tool/CCSTUDIO
- Download CCS 11.0.0 from above link
- Unzip the file for Windows or Linux at any location on your host PC
Install CCS
- Install CCS 11.0.0 by double clicking the installer file from the downloaded and un-zipped CCS package file.
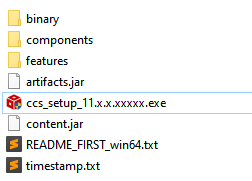
CCS Installer File
- Follow the steps and at below screen, recommend to keep install directory as default.

CCS Install Path
- Follow the steps and at below screen, recommend to keep setup type as "custom"

CCS Setup Type
- Follow the steps and at below screen, select the component as "Sitara" to install AM64X related emulation and GELs
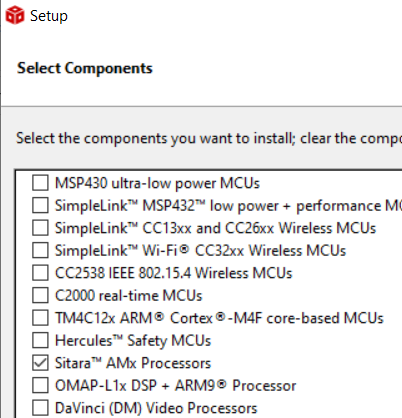
CCS Select Components
- Follow the steps, until CCS is installed.
- If using Linux, additionally go through the instructions given at CCS Linux Host Support
- Launch CCS and select the workspace, default workspace is good enough. You can check the box "Use this as default and do not ask again"
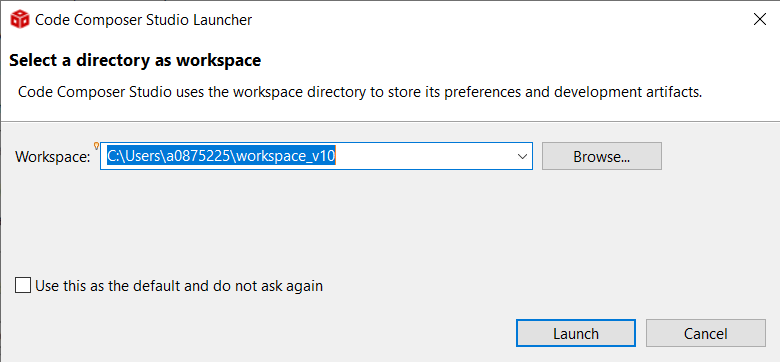
CCS Select Workspace
Check Packages as seen by CCS
- Launch CCS
- Goto "Window > Preferences"
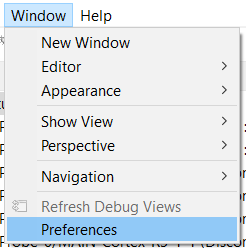
CCS Preferences
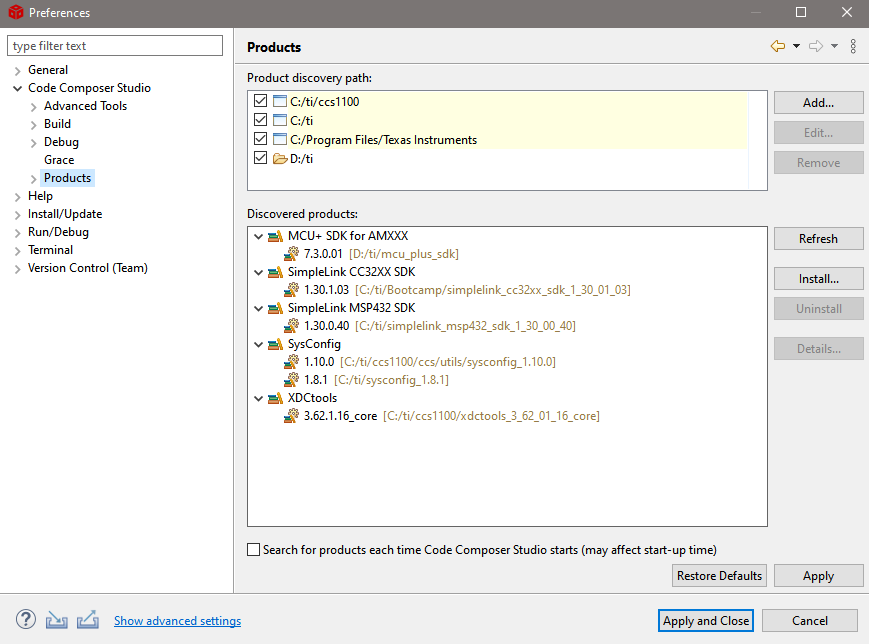
- Goto "Code Composer Studio > Products", make sure you see SysConfig 1.10.0 listed here.
- Sometimes, you need to click "Restore Defaults" and then "Refresh"
CCS Products
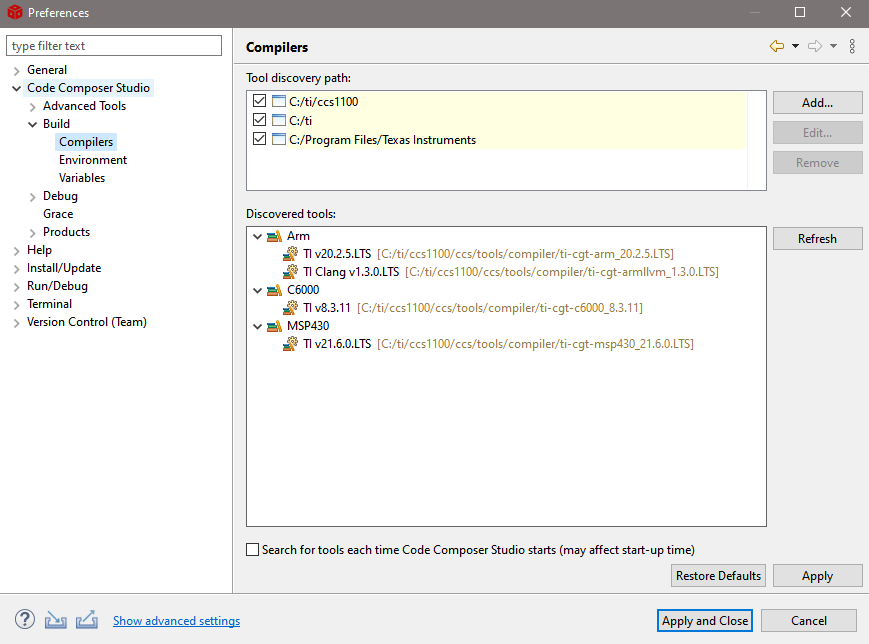
- Goto "Code Composer Studio > Build > Compilers", make sure you see TI CLANG 1.3.0.LTS listed here
- Sometimes, you need to click "Restore Defaults" and then "Refresh"
CCS Compilers
Create Target Configuration
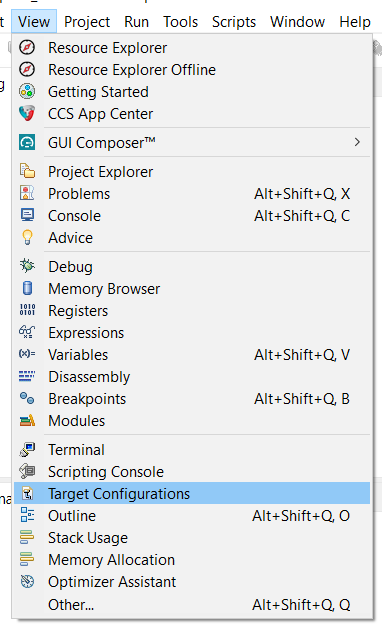
- Goto "View > Target Configuration"
Target Configuration Menu
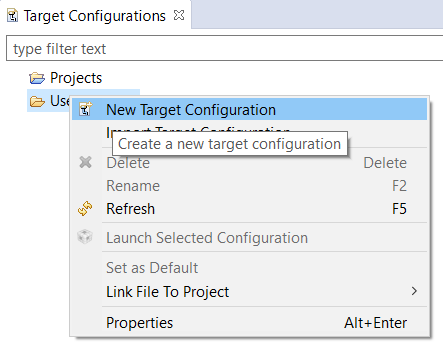
- Create a new target configuration
New Target Configuration
- Give a nice name to the new target configuration, typically {soc name}_{JTAG type}
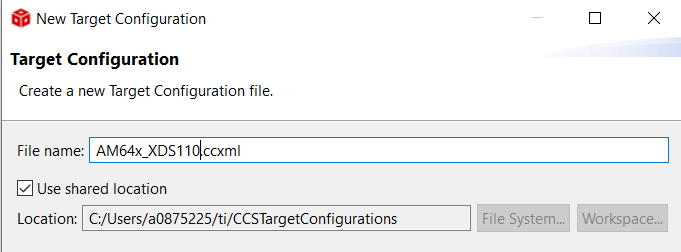
Target Configuration Name
- Select connection as XDS110 USB Debug Probe
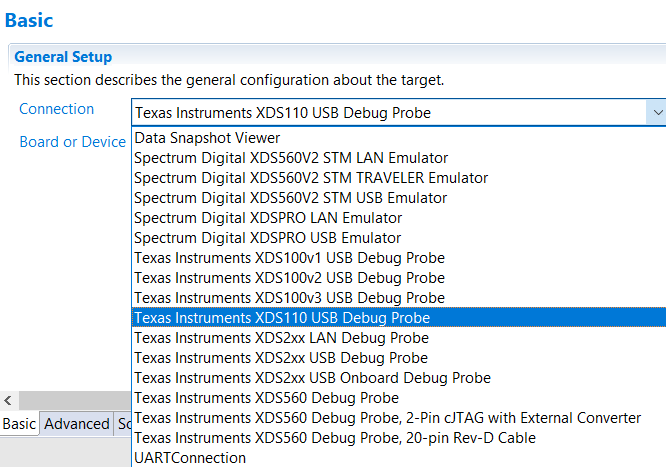
Select JTAG Connection
- In "Board or Device" type "AM64X" and select "AM64x_GP_EVM"
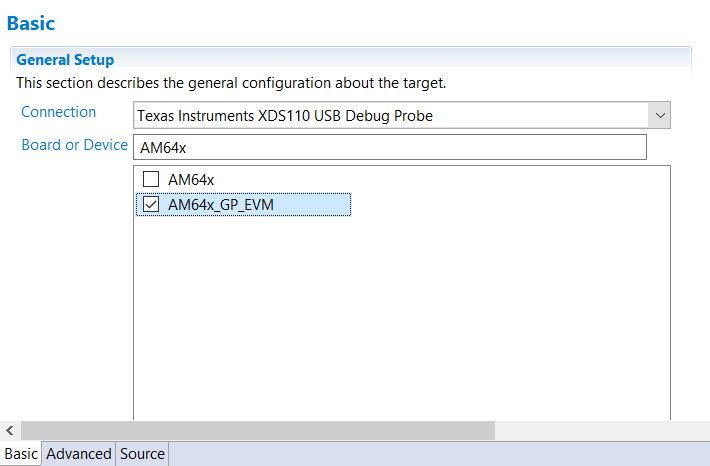
Select AM64X EVM
- Bypass not used CPUs: Go to "Advanced" tab and enable the "Bypass" option as shown in the below image. typically, ICSS_Gx are not used by most developers, so these can be bypassed. Note, you can always undo this change later, by editing the target configuration, should you need these CPUs.

Bypass unused targets
- Click "Save" to save the newly created target configuration.
- Now you can move on to EVM Setup to prepare your EVM for running programs.
Known Issues
- To use the debugger correctly with CCS in Linux, some additional steps are required. There is a message which is shown during the CCS installation to do this, but more often than not this is missed. If you miss this, you might get an error similar to
CS_DAP_0: Error initializing emulator: (Error -260 @ 0x0) An attempt to connect to the XDS110 failed. The cause may be one or more of: no XDS110 is connected,
invalid firmware update, invalid XDS110 serial number, or faulty USB cable. The firmware and serial number may be updated using the xdsdfu utility found in the
.../ccs_base/common/uscif/xds110 directory of your installation. View the XDS110SupportReadMe.pdf file there for instructions. (Emulation package 9.4.0.00129)
- There might be EVM specific issues in which the debugger maybe needs to be connected after the power is turned ON, or other similar issues. For this refer the evm specific setup page at EVM Setup


 1.8.20