WiFi Out Of Box Demo - User Guide
Overview
The TDA4VM SK board has a PCIe M2E Key interface port (J11) which is connected to the MMC0 port of the SoC. Connect the Intel-9260 WiFi card to the PCIe port. The WiFi module can be ordered from https://www.amazon.in/Intel-Wireless-Ac-9260-2230-Gigabit/dp/B079QJQF4Y
Using this, a WiFi Out of Box Demo has been set up such that the board acts as both a WiFi Access Point( AP) and a WiFi Station that can connect to an external access point like a router or hotspot, on boot up. The board also starts iperf3 automatically on the access point interface and the user can run iperf3 on their devices to test the throughput.
All of the necessary equipment requirement and instructions are provided here.
Hardware Prerequisites
TI TDA4VM SK
PC (Windows or Linux, to use serial terminal console)
PC (Windows or Linux, to connect to the SK board’s WiFi AP)
SD card (minimum 16GB)
Connect to the board’s WiFi Access Point
Follow the steps below to connect to the WiFi Access Point of the SK board:
Power on the board. The SK will start the WiFi Access Point(AP) automatically on system boot.
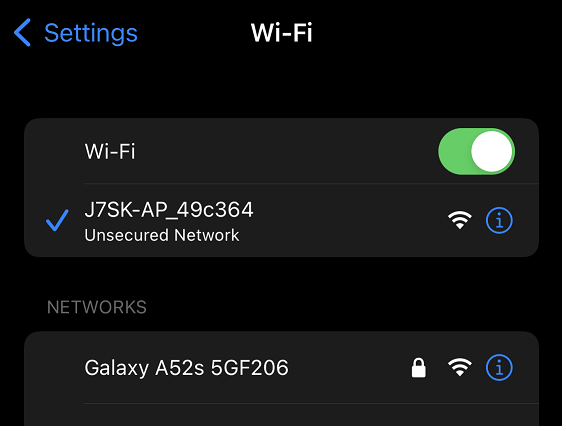
Scan for WiFi network from your phone or PC. Each board has a specific AP SSID. For J721E SK it will be “J7SK-AP-xxxxxx”.
Connect to this network and access the network.
Using the board as WiFi Station to connect to external WiFi AP
Users can configure the board to connect to AP of their choice (like a home router or a hotspot) using the following steps:
Modify the /usr/share/intel9260/wificfg file on the rootfs partition of the SD card. You can use a card reader to mount the rootfs partition on Windows or Linux PC.
The default contents of the file are shown below:
# This file is used for configuring the credentials required when the
# board is acting as a WiFi station.
# Customize this as per your need
# Set the demo_enable to yes so that the board connects to the AP automatically
# after the boot

[Wifi-STA]
demo_enable = no
ssid = homewifi
password = password123
Set demo_enable to yes. Enter the Wi-Fi credentials (Network name and Password) of the AP you want to connect to. Do not change the file formatting. In case of AP with no password, leave the password line blank. For example if you want to connect to a hotspot named MyHomeWifi with Password123 password, the content should be as shown below:
# This file is used for configuring the credentials required when the
# board is acting as a WiFi station.
# Customize this as per your need
# Set the demo_enable to yes so that the board connects to the AP automatically
# after the boot

[Wifi-STA]
demo_enable = yes
ssid = MyHomeWifi
password = Password123
Save the file, safely eject micro SD card, plug it into the SK board and reboot.
The SK will read the config file and connect to the external AP automatically on system boot.
The user can confirm that the SK is connected to the configured AP by running commands on the board such as:
iw wlp1s0 link
You will see the connection details displayed like this:

Measuring Throughput using iperf3
The SK board starts iperf3 automatically on AP interface (IP address 192.168.43.1) on port 6001. Users can run iperf3 on their PC by following the below steps:
Connect a PC to the wifi network of the SK board. Refer Connect to the board’s WiFi Access Point for steps to connect to the AP.
Run iperf3 on the PC connected to the AP. For example, the below command tests UDP @ 20Mbps for 30 secs:
iperf3 -c 192.168.43.1 -u -b 20M -t 30 -i 5 -p 6001
Run iperf3 on the PC connected to the AP. For example, the below command tests the maximum possible bandwidth for 30 secs:
iperf3 -c 192.168.43.1 -b 0 -t 30 -i 5 -p 6001