3.1. Important Installation Information
3.1.1. Installation Types
3.1.1.1. Web Installer
The web installer was a lightweight installation program. The initial download is very small and enables the selection of features and device support to install. Once the selections are made the installer will then download the appropriate packages to complete the desired selection.
Internet connectivity is required to use the web installer
3.1.1.2. Offline Installer
The offline installer, or full installer, is a larger installation program. The download contains all of the available installation options. This installer does not require internet connectivity to run.
3.1.2. System Requirements
Each version of Code Composer Studio describes its list of System Requirements. If your system does not meet these requirements you may experience poor performance, or the inability to run the application.
The System Requirements section in the Overview chapter has more information on the requirements for this release.
3.1.3. Security Software
During the installation of Code Composer Studio there may be packages downloaded from the internet and installed. Some anti-virus and security software detects this and will block the installation. As a result it is recommended that such software be disabled during installation of Code Composer Studio. This is not a requirement but if the installation fails it is recommended to try again with the security software disabled. The full/offline installation is less susceptible to these issues.
3.1.4. Permissions
Depending on what debug probes are selected during installation there will be device drivers that need to be installed on the system. In order to complete this step the appropriate permissions on the system will be required. On Linux this involves running an installation script as sudo at the end of the installation.
3.2. Installation Process
Overall the installation process is the same across Windows, Linux and macOS. Where there are differences this will be noted in the installation steps.
3.2.1. Download
The installation images for Code Composer Studio can be obtained fron the CCS Download Site.
Select the image that matches the host operating system of the computer that it will be installed on.
3.2.2. Running the Installer
Note that most of the installers are provided inside archive files such as a zip file. It is necessary to extract the archive file before proceeding with installation.
For Linux users it is recommended to install as a normal user and not sudo/root.
3.2.2.1. Dependencies
The Code Composer Studio installation is dependent on other software packages. For Windows and macOS users these packages will be installed automatically as part of the installation. For Linux users the installer will attempt to identify which packages are missing and display this list. On Linux the dependencies should be installed prior to continuing with installation. More information on dependencies is provided in the Linux Host Support article.
3.2.3. Steps
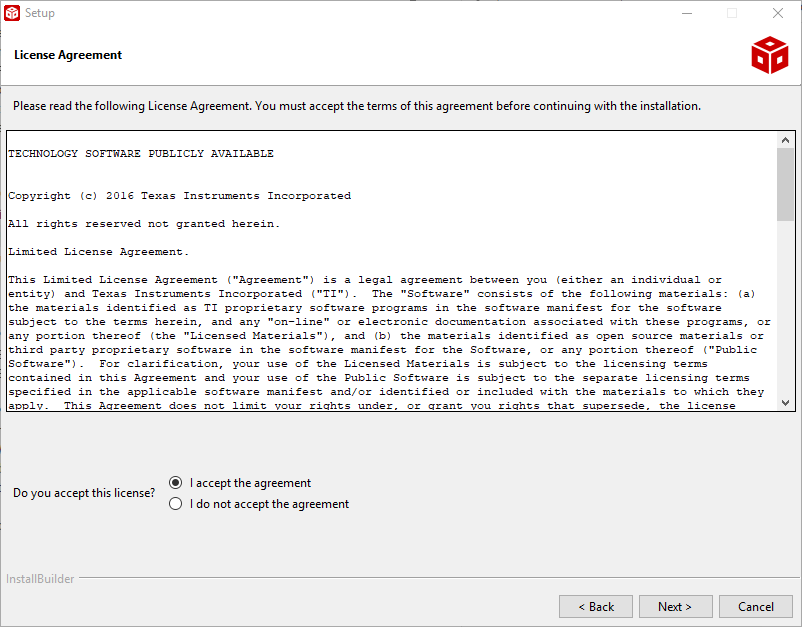
3.2.3.1. License Agreement
The end user license agreement is displayed. The agreement can be printed if desired. The license agreement must be accepted to continue.
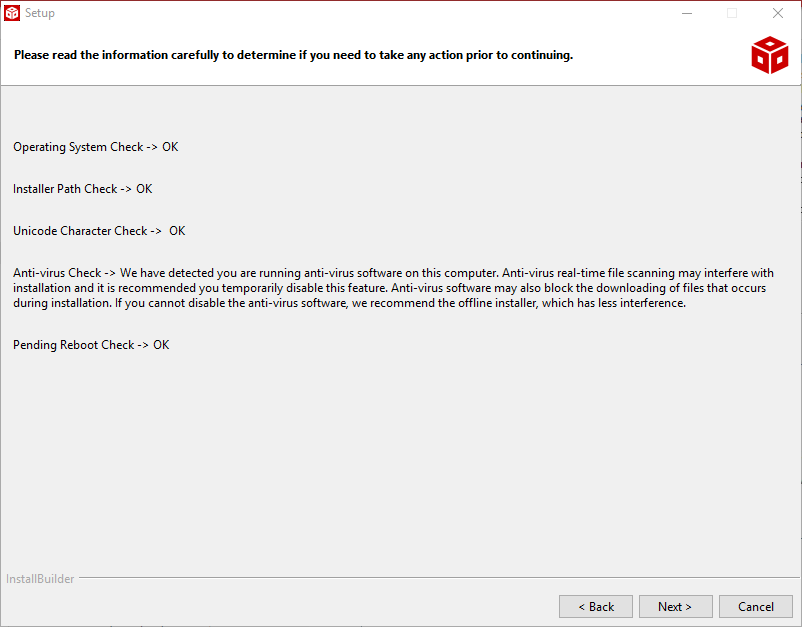
3.2.3.2. System Check
The installer will check the system to see if it meets the requirements for installation. Any issues that need to be addressed will be displayed. Disabling security software is recommended but optional.
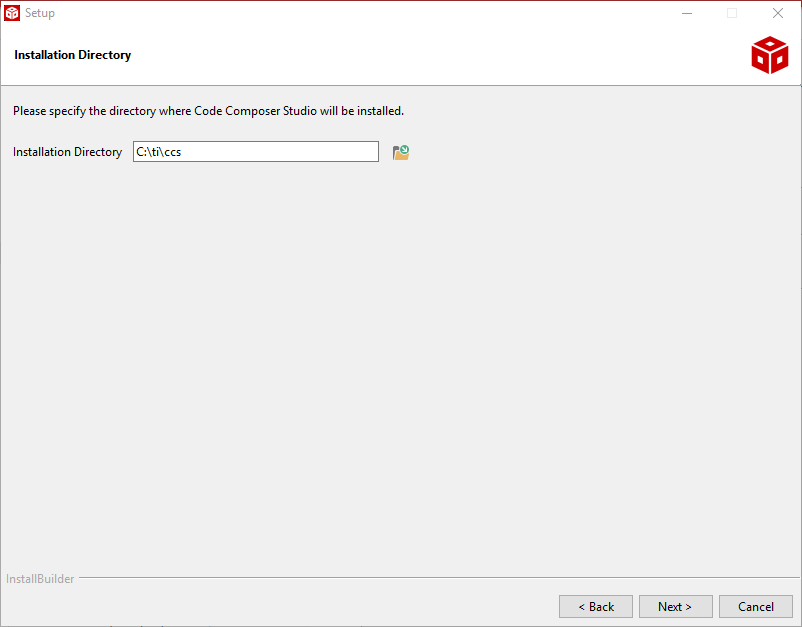
3.2.3.3. Installation Location
Choose a location to install Code Composer Studio. This location must not already contain a Code Composer Studio installation. If multiple versions of Code Composer Studio will be installed then it is recommended to install them in versioned folders.
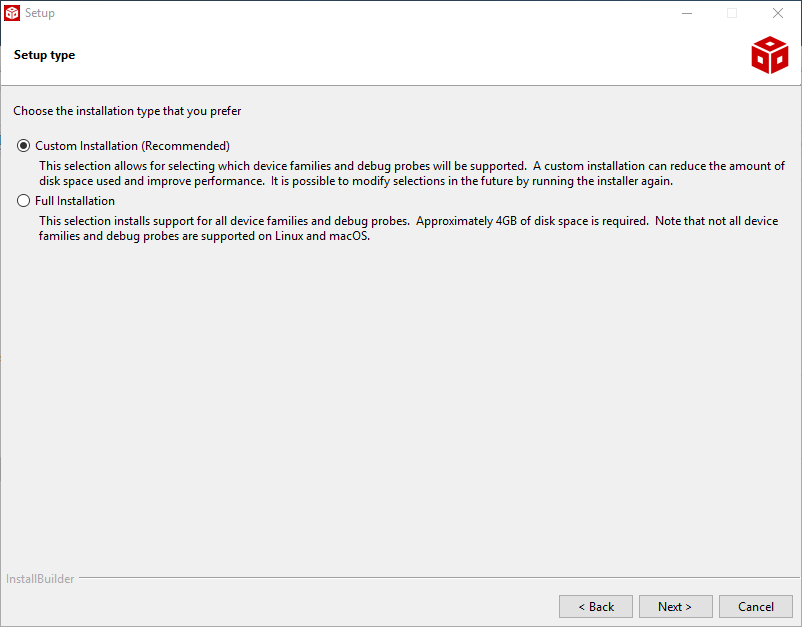
3.2.3.4. Setup Types
There are two installation types:
- Custom Installation: Allows you to choose the device families and debug probes to be supported. Recommended to reduce the installation time, requred disk space, and overall Code Composer Studio performance.
- Full Installation: This will install support for all available device families and debug probes.
3.2.3.5. Device Support
If a Custom Installation was selected, this dialog is used to configure which device families to install support for. When a family is selected on the left hand side, a short description will be displayed on the right. This is useful to help determine which selections to make.
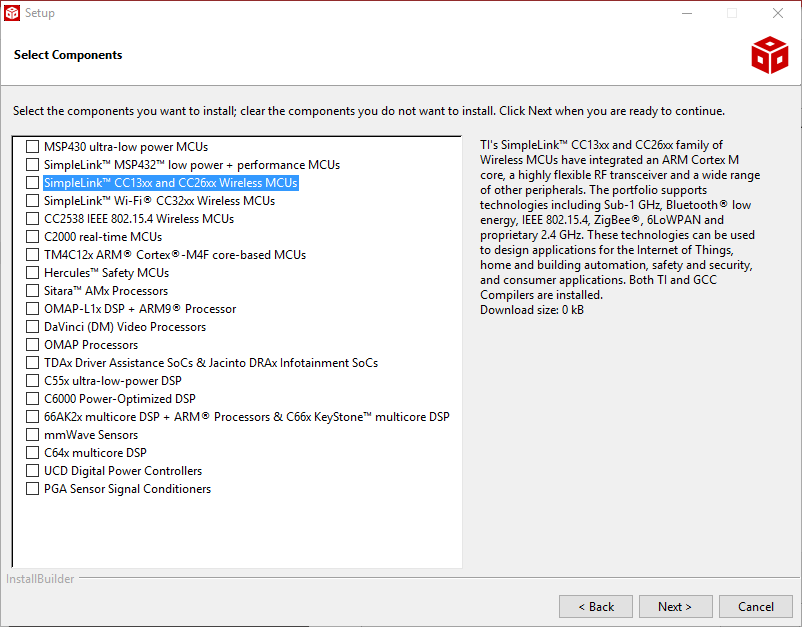
Note that it is possible to add support for families after installation by running the installer again and pointing it at the existing installation.
3.2.3.6. Debug Probe Support
This dialog allows users to enable support for some common third party Debug Probes. Available options will depend on the device families selected in the previous dialog.
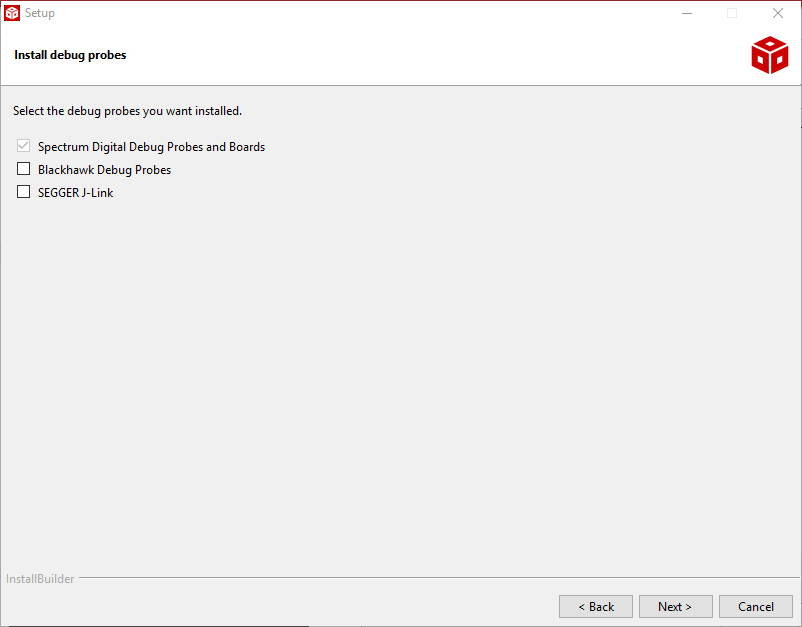
Note that the Spectrum Digital Debug Probes and Boards option includes the support for standard XDS560v2 debug probes.
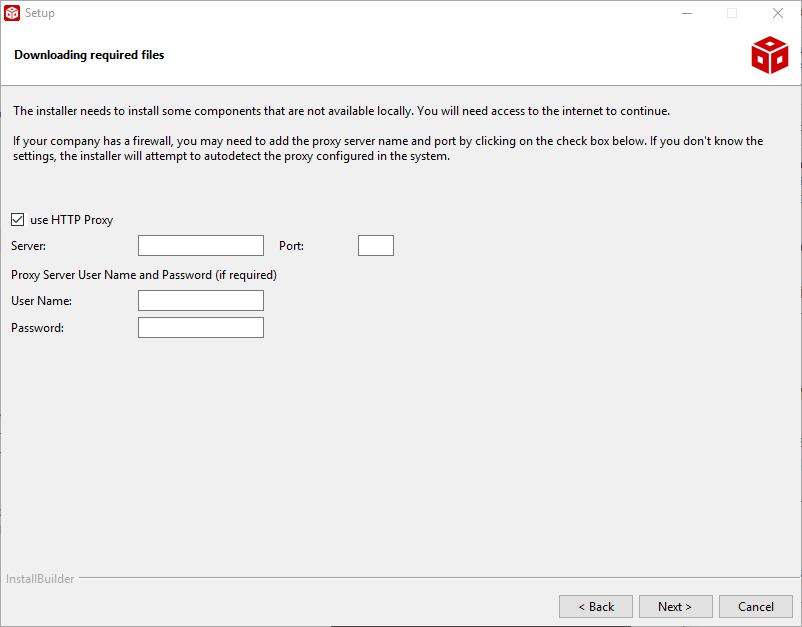
3.2.3.7. Proxy Server
If the web installer is being used, an additional dialog will appear - allowing your network proxy server information (if applicable).
3.2.3.8. Progress
As the installation proceeds the progress screen will show what the installer is doing. Depending on how many device families were selected the installation may take a significant amount of time. The web installer will take additional time as it needs to download the required components from the internet.

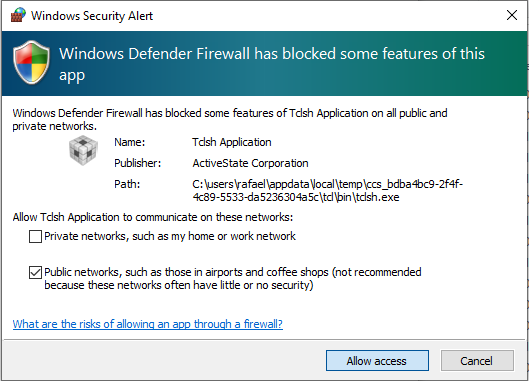
Windows only. If you have Windows Defender enabled, at the beginning of this process the alert below may be displayed. Click on “Allow Access” to properly install CCS.
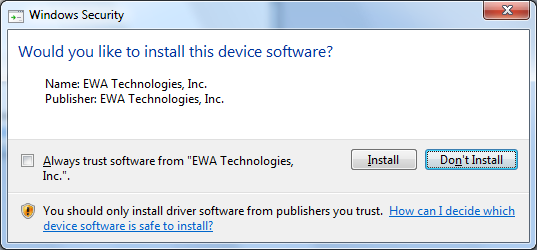
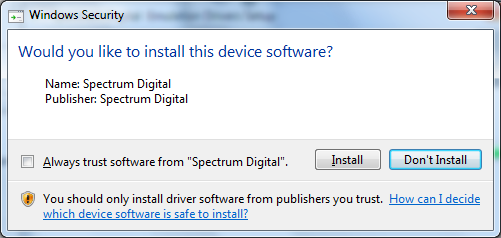
Windows only. If Blackhawk or Spectrum Digital driver install option was chosen, close to the end of the install process the warnings below may be shown.
3.2.3.9. Driver Installation
If installing on Linux as a normal user a screen will be shown that provides the location of the driver installation script. It is necessary to run the indicated script as sudo/root. This will ensure that the drivers for the debug probes are installed correctly.
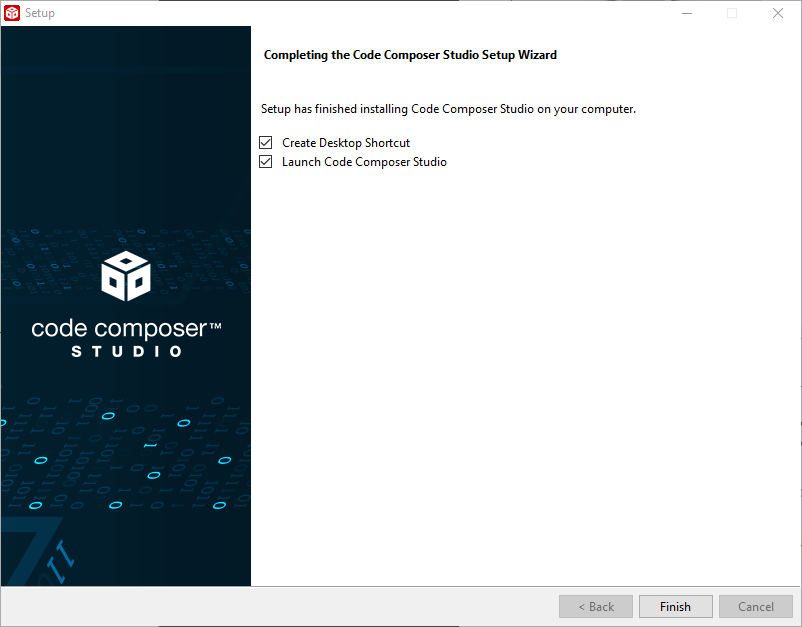
3.2.3.10. Completion
The last screen shown during installation is the successful completion screen. This screen provides options to launch Code Composer Studio and to create a desktop shortcut.
3.3. Command Line Installation
To install CCS from a command line interface, please refer to this article.
3.4. Uninstalling CCS
To uninstall CCS: exit CCS, navigate to <CCSInstallRoot>/ccsv[x] directory and run the uninstall_ccs executable.
To uninstall the entire installation (including other components like xdctools): delete the entire installation directory.