Build sniffer firmware
This document describes how to build the packet sniffer firmware with IAR EW and CCS. It also describes how to import radio settings source files generated by SmartRF Studio.
How to build the firmware with IAR EW
Prerequisites
- IAR EW for ARM version: The packet sniffer firmware images has been generated with IAR 8.40.
In order to build firmware for CC1310 or CC1350:
- The sniffer firmare projects for these devices are tested with SimpleLink CC13x0 SDK version 4.10.
In order to build firmware for CC26X2R, CC26X2RB, CC1312R, CC1352R or CC1352P:
- The sniffer firmare projects for these devices are tested with SimpleLink CC13x2 and CC26x2 SDK 4.40.
Build steps
Note
The following steps describe how to build firmware for CC1310/CC1350 LaunchPad board with IAR. In order to build firmware for another device, follow the same instructions but select the workspace file in the location for your device: <install_path>\ide\<device name>\iar\sniffer_fw.eww
- Open IAR EW. Select Tools->Configure Custom Argument Variables. Select the ‘Global’ tab and click ‘Import’. Select the *.custom_argvars file under tools\iar in your SDK installation (SIMPLELINK_CC13X0_SDK.custom_argvars for CC13x0 SDK).
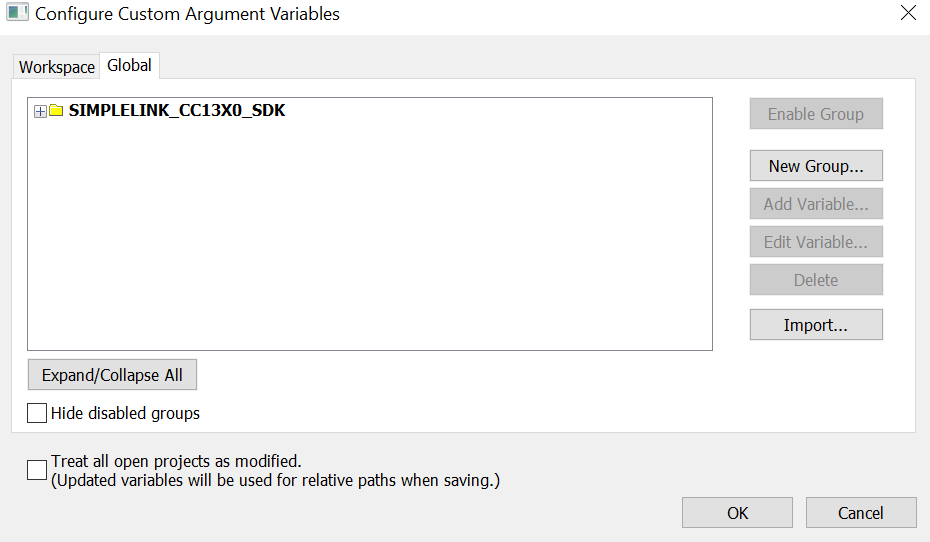
Fig. 22 Import Argument Variables
- Restart IAR EW.
- Open the workspace file <install_path>\ide\cc13x0lp\iar\sniffer_fw.eww with IAR EW.
- Select Tools->Configure Custom Argument Variables and make sure that the Argument Variables file selected in step 1 is the active one.
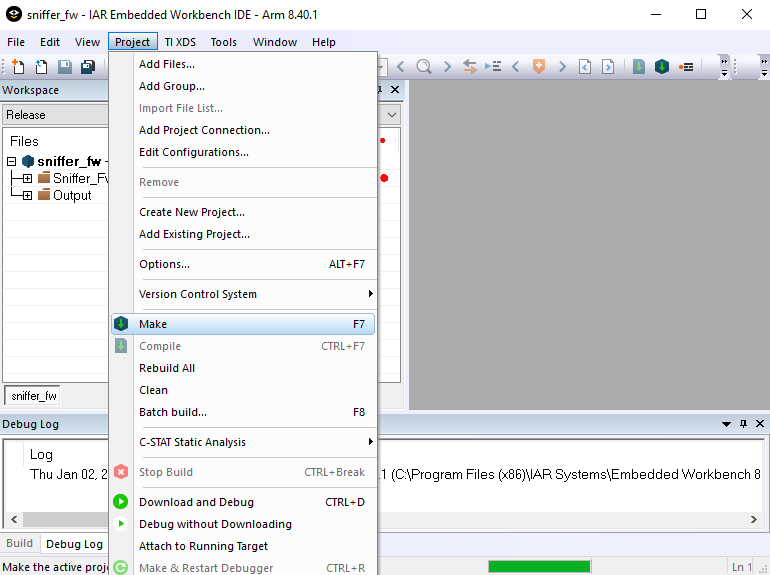
- Select one of the project configurations (Debug or Release) and click Project->Make (or F7) to build.
- The binary image is generated in one of the folders <install_path>\bin\cc13x0lp (Release configuration) or <install_path>\ide\cc13x0lp\iar\Debug\Exe (Debug configuration).
How to build the firmware with CCS
Prerequisites
- CCS version: The packet sniffer firmware has been tested with CCS 10.2.
In order to build firmware for CC1310 or CC1350:
- The sniffer firmare projects for these devices are tested with SimpleLink CC13x0 SDK version 4.10.
In order to build firmware for CC26X2R, CC26X2RB, CC1312R, CC1352R or CC1352P:
- The sniffer firmare projects for these devices are tested with SimpleLink CC13x2 and CC26x2 SDK 4.40.
Steps to import the project in CCS
Note
The following steps describe how to build firmware for LAUNCHXL-CC1310 or LAUNCHXL-CC1350 with CCS. The process to build firmware for the other supported target boards is similar but the project folder names are device dependent.
- Launch CCS and select a workspace location for your project.
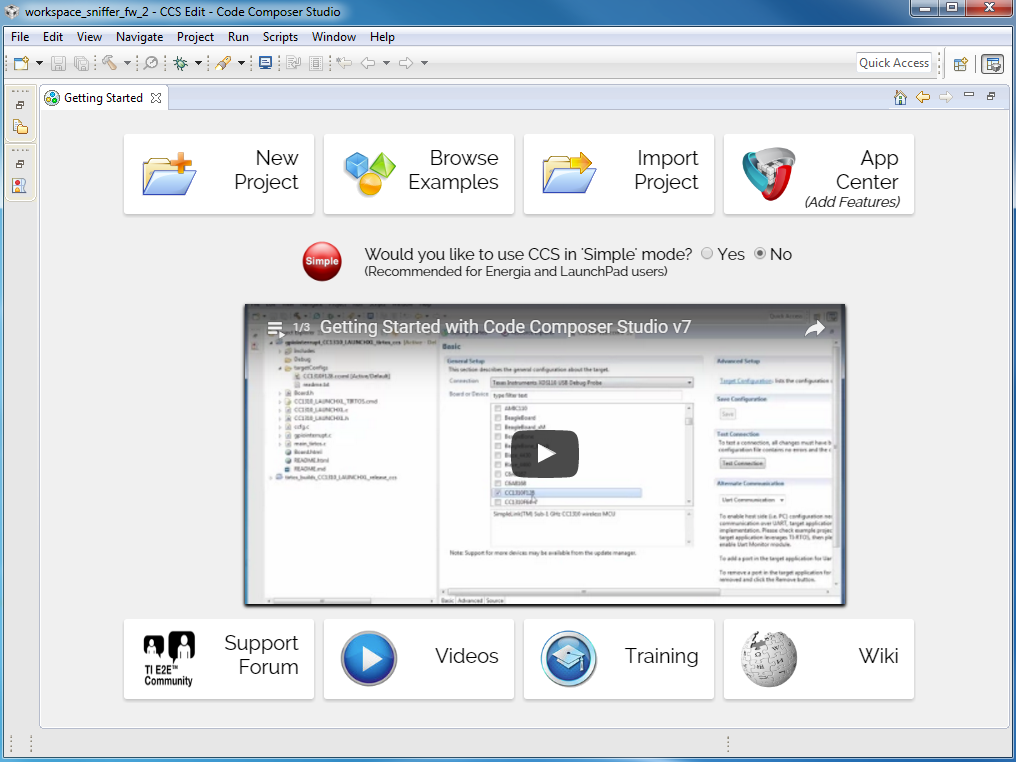
- On the ‘Getting Started’ page click ‘Import Project’.
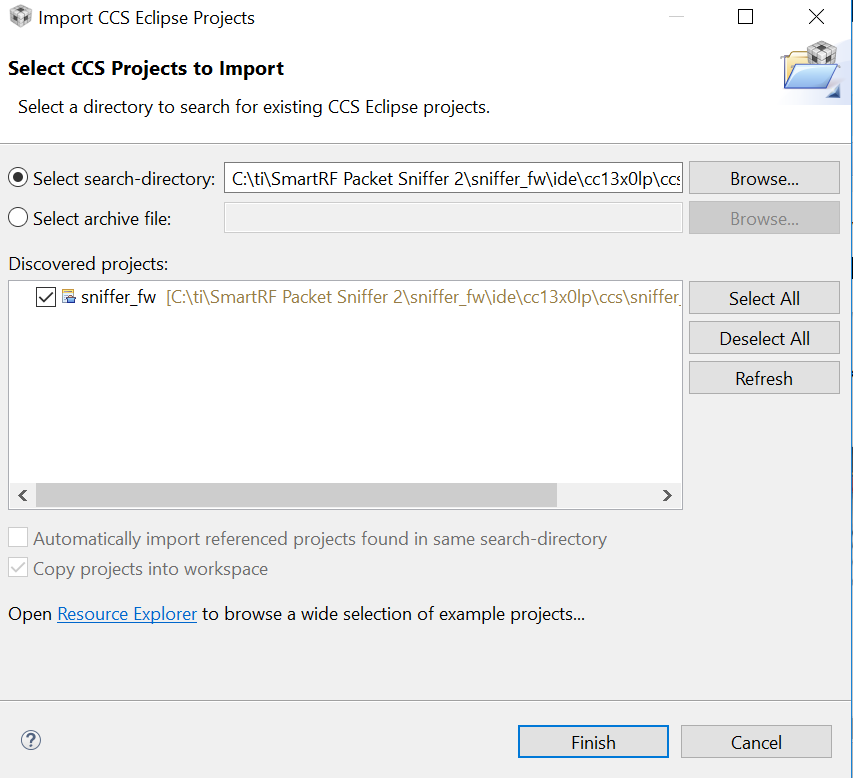
- Browse to the folder <install_path>\ide\cc13x0lp\ccs
- Check the sniffer_fw project and click ‘Finish’
Build steps
- Select the sniffer_fw project.
- Click Project->Build Project.
- The binary image is generated in one of the folders <workspace_path>\<project_name>\Debug or <workspace_path>\<project_name>\Release depending on the active project configuration.
Import settings from SmartRF Studio
If you want to use other PHY settings than those distributed with the SmartRF Packet Sniffer 2 installer, you can import new settings from SmartRF Studio and rebuild the sniffer firmware.
The source code for the PHY settings are located in the folders <install_path>\source\smartrf_settings\<device name>.
You can update the PHY settings by replacing the existing settings files with new files exported from SmartRF Studio. There is one header file and one source file for each PHY setting. Make sure that the files and all variables in the new files have the same names as in the original files.
There are two options for using modified PHY settings:
- Modify the existing PHY settings for your target board, or
- Create a custom build sniffer firmware with one PHY setting.
Option 1 is the simpler option. With option 1 you can do modifications to the PHY settings code and rebuild the firmware without modification of the IAR or CCS projects. The list of setting files must then match with the original projects, but each setting can be modified.
With option 2 you can create a custom build sniffer firmware with only 1 PHY setting supported. This can be detected by the PC software as a custom build sniffer. This requires that the FW_ID preprocessor option is removed. FW_ID is then set to a default value of 100. The file phy_tables.c for your target must be modified to include only one setting, and the file name and variables names must match with your new settings file.
Prerequisites
- An installation of SmartRF Studio is required.
The steps below describes how to import PHY settings from SmartRF Studio and rebuild the sniffer firmware with the new PHY settings.
- Install SmartRF Studio if it is not already installed.
- Open SmartRF Studio for your target board.
- Create your PHY settings by selecting one of the existing settings in SmartRF Studio and modify if required.
- Open Code Export in SmartRF Studio. For help with Code Export please see the SmartRF Studio Users Manual.
- Click the ‘Settings’ tab and select the template ‘simplelink_SDK_template_v3.cet.xml’.
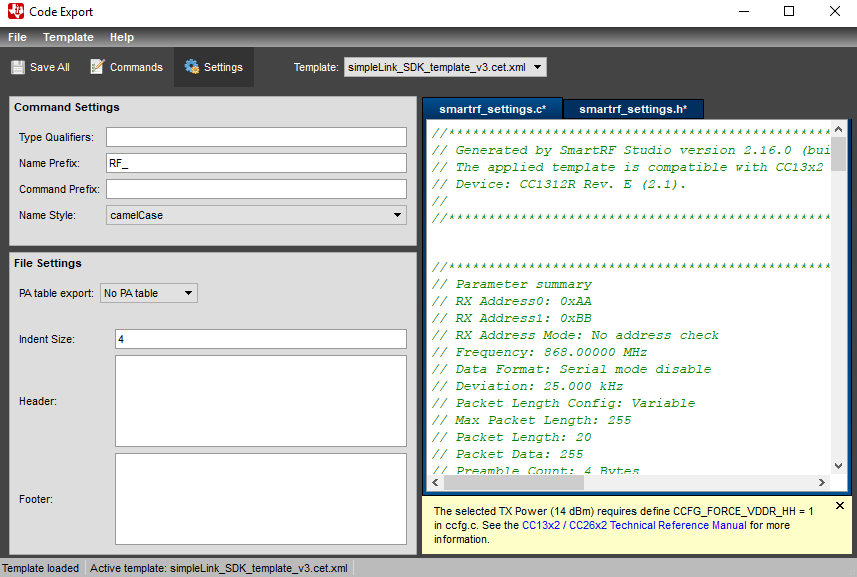
- Save the generated header and source files in your project location.
- Open the IAR EW or CCS projects as described in previous sections.
Predefined symbols
The table below describes the predefined symbols (preprocessor options) used in the IAR EW and CCS projects.
| Predefined Symbol | Description |
|---|---|
| NUM_DATA_ENTRIES | Number of packet RX data entries. The default value is 3 when this is not defined. |
| FW_ID | FW Identifier. This symbol is used by the PC host program (Sniffer Agent) to identify the FW. This symbol should be removed for custom builds (builds with settings imported from SmartRF Studio) |